Beachy waves: that effortlessly tousled look that screams summer and carefree vibes. For years, achieving this coveted style has seemed to require hours of painstaking work with curling irons or salt sprays, leaving many frustrated with less-than-perfect results. But what if we told you that the secret to achieving those dreamy, sun-kissed waves might already be sitting in your bathroom drawer? Forget the complicated techniques and messy products; this guide reveals the surprisingly simple method of using a flat iron to create stunning beach waves.
This revolutionary technique bypasses the traditional methods, offering a faster, simpler, and more consistent way to achieve the perfect beachy wave. We'll walk you through each step, from preparing your hair to mastering the essential flat iron technique, providing you with the knowledge and confidence to style your hair like a pro. Get ready to discover the ultimate guide to achieving effortless beachy waves with a flat iron, and say goodbye to frustrating hair days forever!
Preparation and Safety Guidelines
- Flat Iron
- Paddle Brush
- Blow Dryer
- Always use a heat protectant spray before using a flat iron on your hair. High heat can damage hair significantly, and a heat protectant minimizes this risk.
- Adjust your flat iron's temperature according to your hair type. Thicker, coarser hair may need higher heat, while fine hair requires lower heat to avoid damage. Start with a lower setting and gradually increase if needed.
- Work in small sections of hair. Attempting to straighten large sections at once will result in uneven waves and may cause damage from prolonged heat exposure.
Step-by-Step Instructions
Prepare the Hair
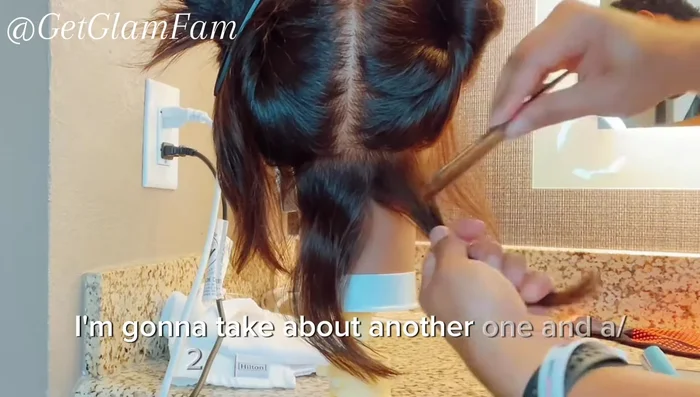
- Section your hair. Leave about a 1-1.5 inch section loose.

Prepare the Hair Create Waves with Flat Iron (Main Sections)
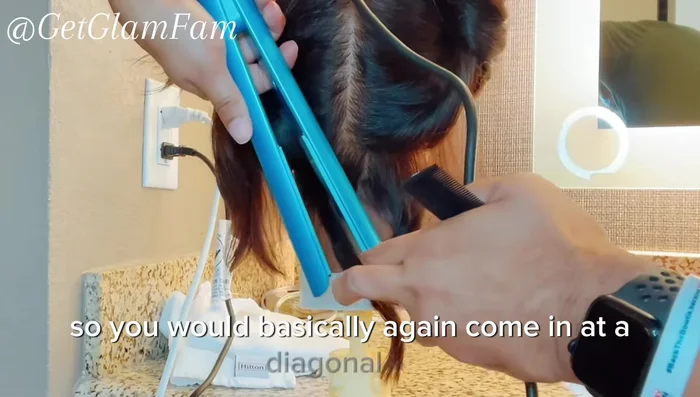
- Hold your flat iron downwards at a diagonal angle. Clamp a 1-2 inch section, do a half turn, and pull straight down.
- Repeat on the other side, angling the flat iron in the opposite direction for a soft bend. Let the section cool to set the curl.
- Continue sectioning and repeating steps 2 & 3, ensuring each section cools before moving on. For the top sections near the hairline, angle the iron diagonally across the hairline to frame the face.
Create Waves with Flat Iron (Main Sections) Create Face-Framing Curls
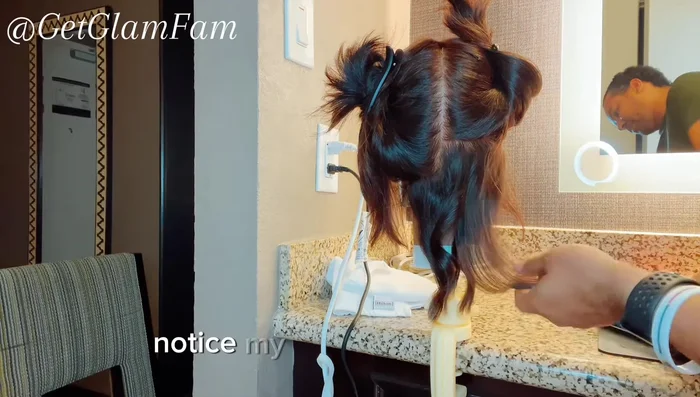
- For face-framing curls, pull the section forward before applying the flat iron. This helps to direct the curls towards the face.
Create Face-Framing Curls Style and Finish
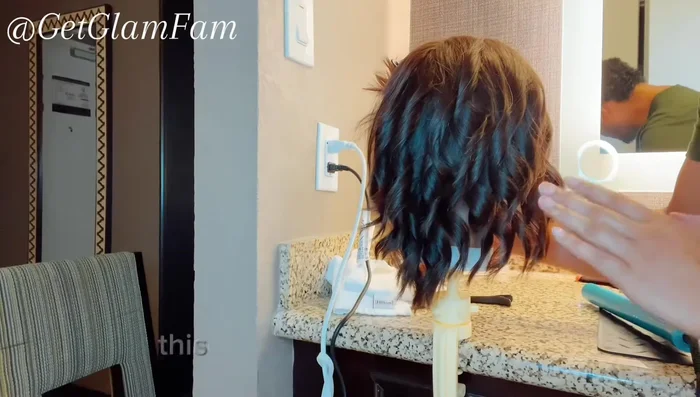
- Once all sections are complete, gently run your fingers through your hair to separate the curls and create a tousled, beachy look.
Style and Finish


Read more: Gorgeous Curls with a Straightener: A Beginner's Guide
Tips
- If your hair is naturally curly, blow-dry it smooth beforehand using a paddle brush.
- The technique is more important than the amount of product used. Proper technique significantly impacts the outcome.
- Allow the hair to cool completely after each section to set the curls.