The perfectly sculpted haircut can dramatically enhance a man's appearance, boosting confidence and reflecting personal style. But achieving that salon-quality finish at home can feel daunting, especially when armed only with scissors. Many men shy away from the challenge, relying instead on the barber’s chair. However, mastering the art of men's haircuts with scissors is achievable with practice and the right techniques, opening up a world of self-expression and cost savings. Forget the awkward at-home attempts of the past; this guide empowers you to take control of your look.
This step-by-step guide will walk you through the process, from the essential tools and preparation to the precise cutting techniques needed to create a variety of stylish men's haircuts. Whether you're aiming for a classic fade, a sharp textured crop, or simply a neat trim, we'll equip you with the knowledge and confidence to achieve professional results in the comfort of your own home. Let's begin!
Safety Guidelines
- Always use sharp scissors. Dull scissors will pull and snag the hair, leading to uneven cuts and potential injury.
- Start with small cuts and work gradually. You can always take more hair off, but you can't put it back.
- If you are unsure about any step, consult a professional hairstylist or watch detailed video tutorials before attempting it yourself.
Methods: Precise Scissor-Over-Comb Technique for Men's Hair
Tools Needed
- Scissors
- Comb
Step-by-Step Instructions
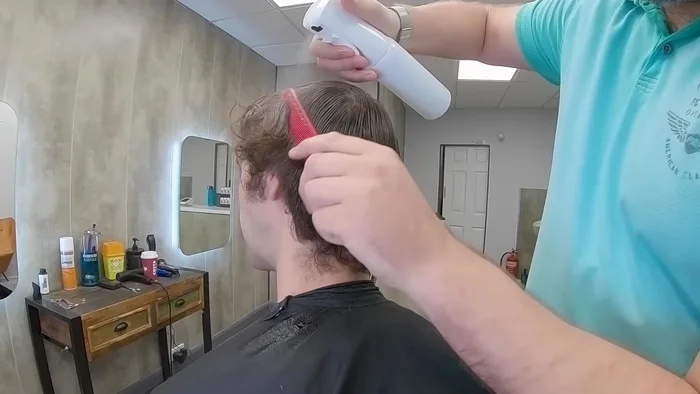
Preparation
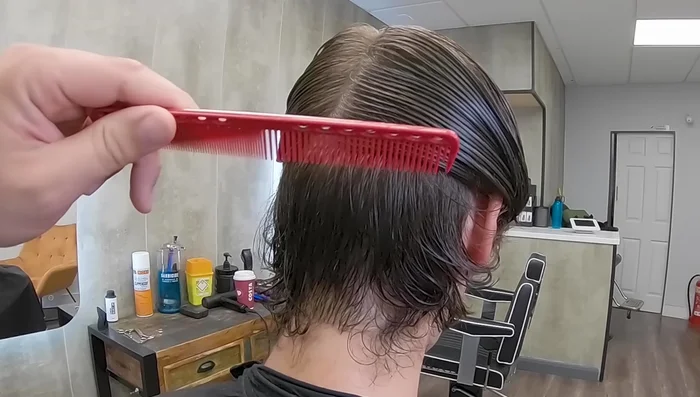
- Wet the hair down.

Preparation Initial Sectioning and Scissor-Over-Comb
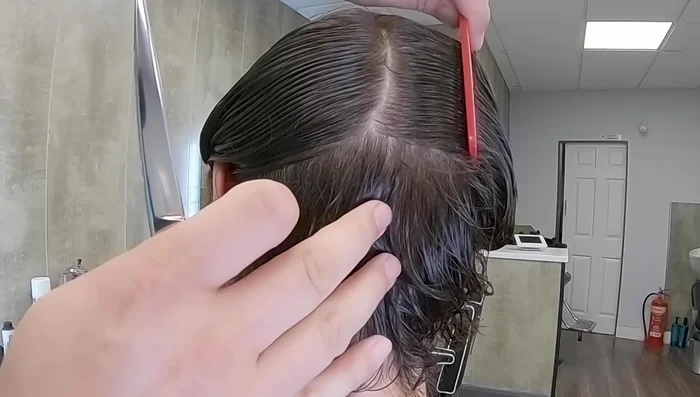
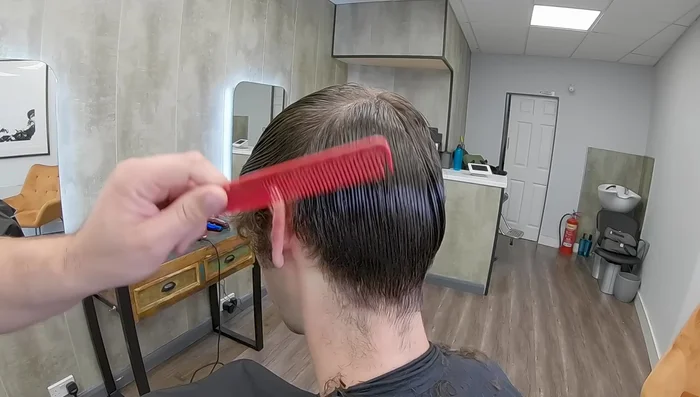
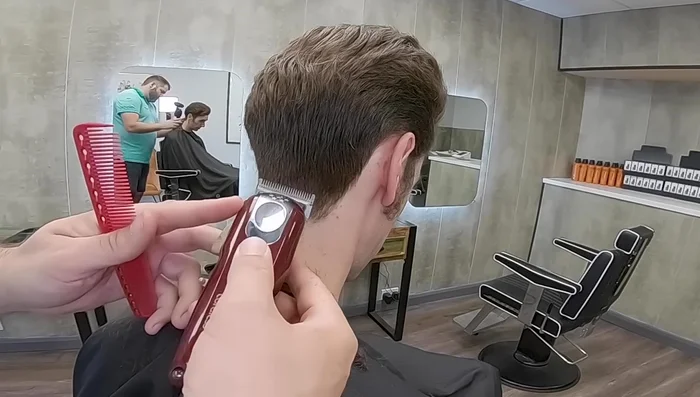
- Start in the middle at the back of the head. Control the hair by sectioning it, working from the nape upwards to the occipital bone, keeping the upper hair out of the way.
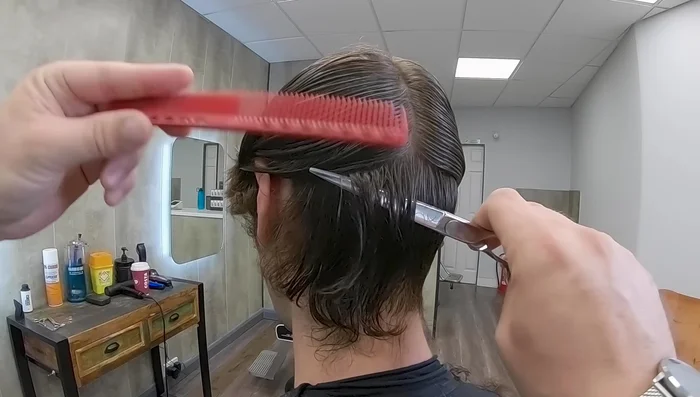
- Pick up a section with the scissor and place the comb underneath. Catch the hair with the comb and cut while guiding the comb downwards.
- Work your way down in sections. Avoid working upwards, as this creates piles of hair and uneven cuts.
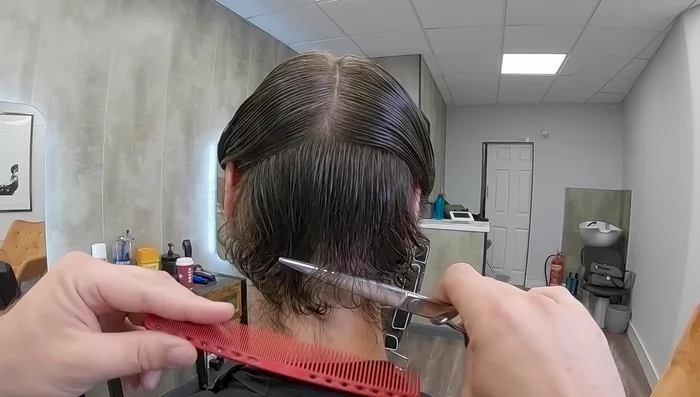
- Repeat this process, creating 5 panels (middle, two sides, and two near the ears).
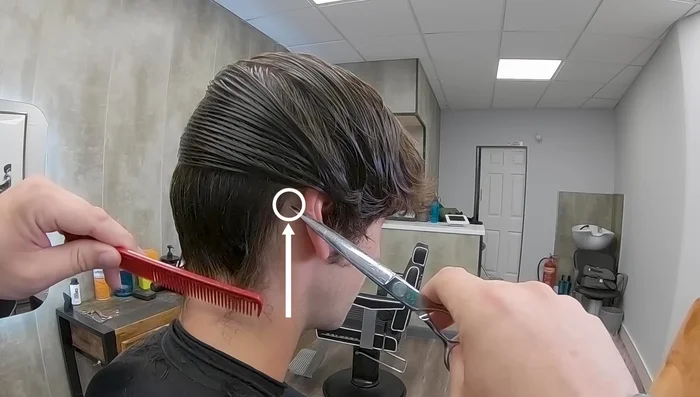
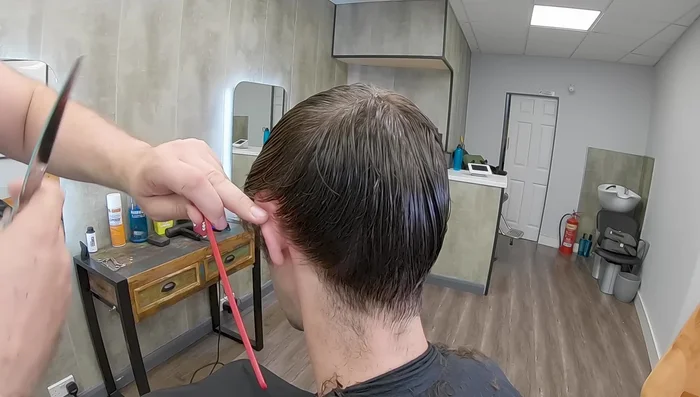
Initial Sectioning and Scissor-Over-Comb - At the back of the ear, place the point of the scissor behind the hairline and slide it in to catch all hair from the hairline.
Initial Sectioning and Scissor-Over-Comb Comb Technique Practice
- Practice the comb flipping technique (pinch the comb between thumb and forefinger and flip it over) to improve speed and agility.
Comb Technique Practice Preparing for Graduation
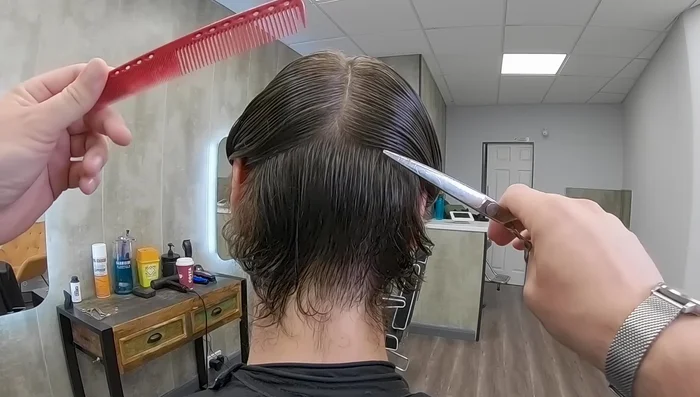
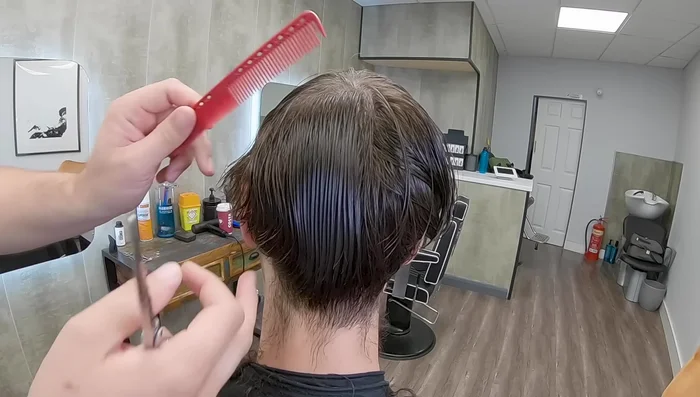
- After cutting the lower sections, pull down the long hair that was initially moved out of the way and create a clean line from the crown to the ear.
Preparing for Graduation Creating the Graduation
- Take sections from the crown downwards, guiding the cut by the already cut short hair to create a graduation.
Creating the Graduation Refinement and Clean-up
- Refine the cut by combing down the hair and using the scissor-over-comb technique again to correct any uneven areas.
- Pull the hair towards the ear and cut downwards to create a clean hairline that won't stick out.
Refinement and Clean-up

Tips
- Use the comb width as a guide for the amount of hair to pick up.
- Keep sections small to avoid scissor marks. Scissor marks often result from too-large sections, incorrect tension, or uneven length in cuts.
Methods: Blending and Refinement Techniques
Tools Needed
Step-by-Step Instructions
Initial Sectioning and Cutting
- Use the previously cut shorter sections as guides to blend the longer top sections using the scissor-over-comb technique.
Initial Sectioning and Cutting Back and Sides Refinement
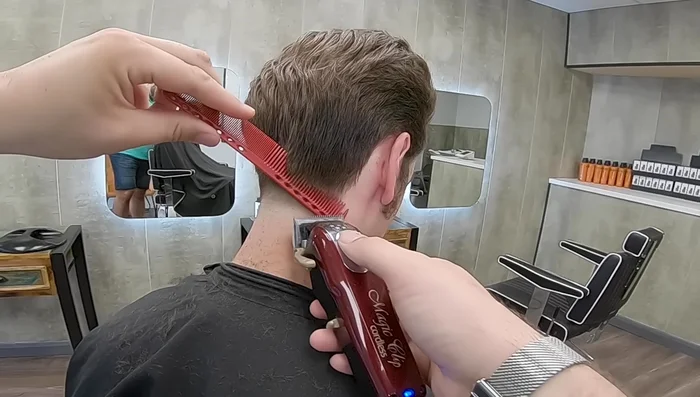
- Create a clean line at the back of the ear and down to the nape of the neck.
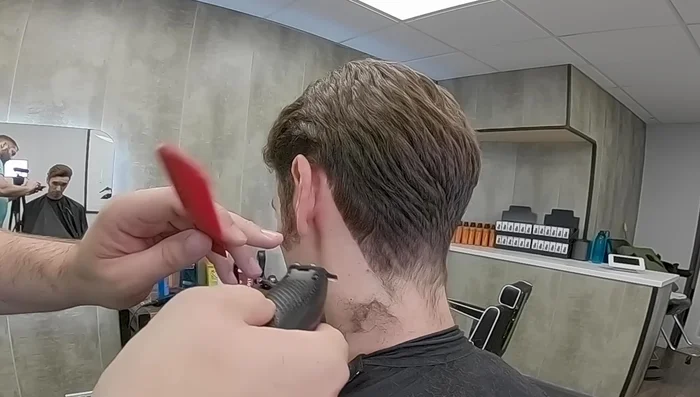
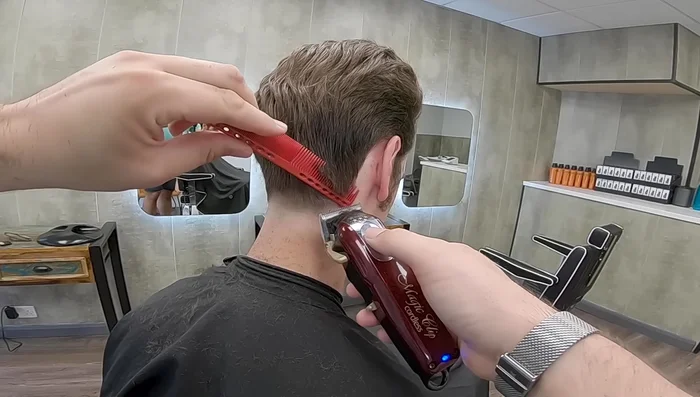
- Use the clipper-over-comb technique to carefully remove weight around the ears and sides, avoiding over-tapering.
Back and Sides Refinement Drying and Trimming
- Dry the hair before using clippers for more efficient trimming.
Drying and Trimming Neckline and Side Refinement
- Taper the neck area using clippers carefully to soften the bottom line.
- Square off the sides and use the comb to thin them out. Blend the sideburns into the facial hair if necessary.
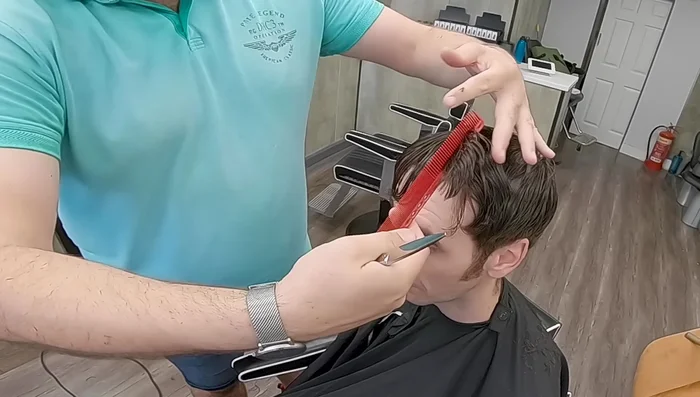
Neckline and Side Refinement Fringe Refinement
- Remove weight from behind the fringe by taking small sections from the back to create a lighter fringe.
Fringe Refinement


Tips
- Maintain good posture and sectioning practices for clean cuts.
- Take small amounts off when using clippers near the neckline to avoid over-tapering.
Read more: Mastering Haircuts: The Most Efficient Techniques with Scissorhands