Achieving that perfect, voluminous hairstyle often feels like a distant dream, a feat only achievable by professional stylists. But what if we told you the secret to salon-worthy hair could be sitting right in your bathroom cabinet? Heated rollers, a classic styling tool often overlooked in the age of straighteners and curling irons, offer a surprisingly simple and effective way to create bouncy curls, sleek waves, or a polished, sophisticated look. They're gentle on your hair, resulting in less heat damage compared to other hot styling tools, and the results last remarkably well. Forget complicated braiding techniques and time-consuming blow-drying routines.
Heated rollers provide a versatile and accessible route to achieving your desired hairstyle, regardless of your hair type or length. This guide will walk you through a straightforward, step-by-step process, showing you exactly how to use heated rollers to achieve perfect, long-lasting results, transforming your hair from drab to fab in a fraction of the time you might expect. Let's dive into the details and unlock the secret to stunning hair with this simple yet powerful styling tool.
Preparation and Safety Guidelines
- Heated rollers
- Tail comb
- Sectioning clips
- Flexible hold hairspray
- Setting lotion (optional)
- Tissue (optional)
- Always allow heated rollers to cool completely before handling to prevent burns.
- Use a heat protectant spray on your hair before applying heated rollers to minimize heat damage.
- Never leave heated rollers unattended while plugged in.
Step-by-Step Instructions
Prepare the Hair
- Ensure hair is clean but not overly clean or conditioned. Avoid deep conditioners or leave-in treatments.
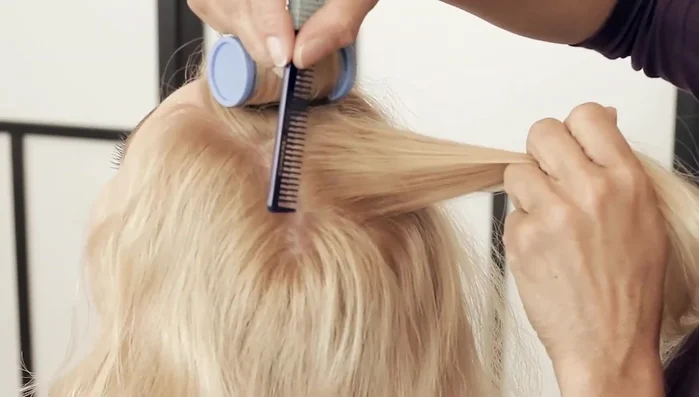
Section the Hair
- Create sections slightly narrower than your rollers. The depth of each section should match the roller's diameter.
Apply Hairspray
- Lightly spray each section with flexible hold hairspray, directing the spray upwards to smooth flyaways.
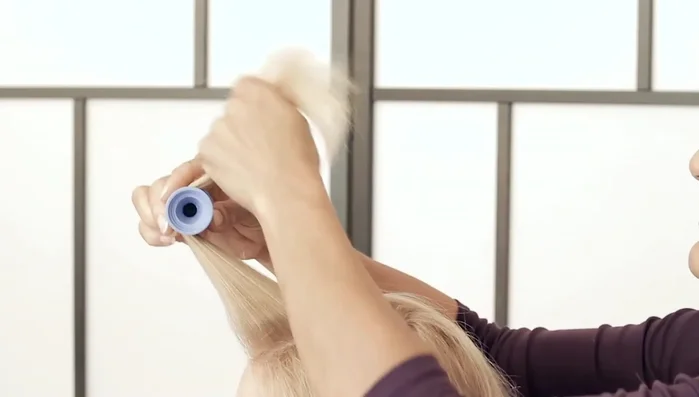
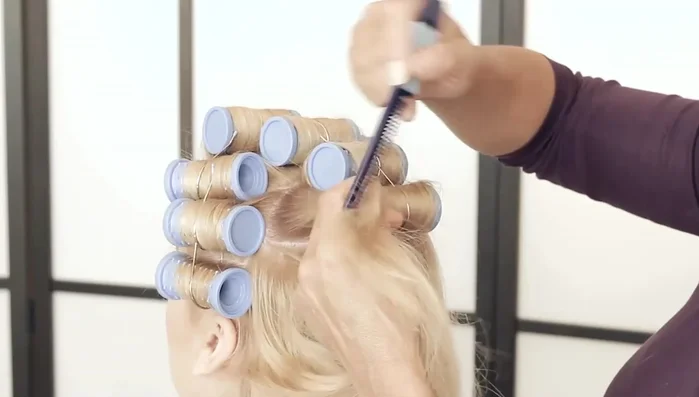
Roll the Hair (Initial Section)
- Position the roller at a 45-degree angle, pushing the hair forward. Tuck the ends under smoothly and roll downwards, maintaining tension to create root lift and prevent kinks.
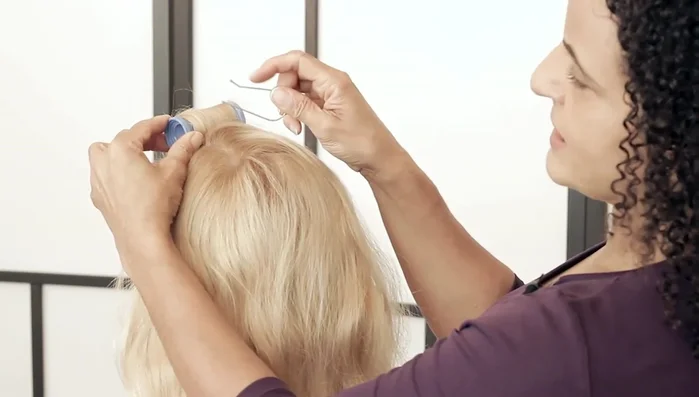
- Use appropriately sized roller clips, ensuring the curved end points upwards and the clip is secure but not digging into the scalp.
- Keep tension on the hair while rolling to avoid loose curls and ensure the roller sits on its base for optimal lift.

Roll the Hair (Initial Section) Repeat Sectioning and Rolling
- Continue creating sections and rolling the hair, maintaining consistent section size and direction.
- For layered hair, begin rolling from where the layers start to prevent hair from falling out of the roller.
Repeat Sectioning and Rolling Create Crown Section
- Form a triangle section for the crown, aligning its base with the bottom of the surrounding rollers to achieve both height and width.
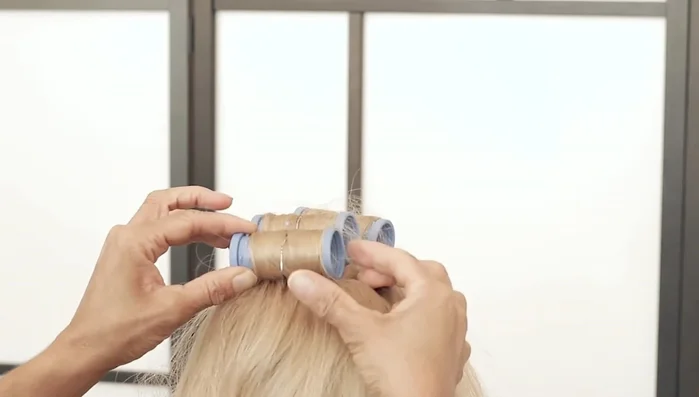
Create Crown Section Complete the Back
- Continue with straight horizontal sections across the back of the head to create a clean base for updos or extensions.
Cool and Remove Rollers
- Let the rollers cool completely (at least 20-30 minutes) before carefully removing them.
Tips
- Use the correct size roller clips to avoid damage and ensure secure placement.
- Adjust roller placement based on desired style. For instance, angling rollers can create volume and movement.
- For fine hair, use setting lotion instead of hairspray for better curl hold.
- Use a professional hairspray with a fine mist to avoid making the hair wet and crispy.
- Consider using tissue between the roller and scalp for sensitive scalps or fine hair.