Are you tired of spending a fortune on salon-quality hair relaxers? Do you dream of smooth, sleek hair without the hefty price tag? Then you've come to the right place! Many women crave the look and feel of relaxed hair but find the cost prohibitive. Fortunately, achieving that same luxurious straightness is entirely possible without emptying your wallet, thanks to the power of DIY beauty solutions. This article explores a simple, budget-friendly recipe for making your own hair relaxer cream at home, allowing you to customize the ingredients and tailor the process to your specific hair needs.
This homemade alternative offers a significant cost saving compared to commercial products while still delivering impressive results. Remember, always conduct a patch test before applying any homemade mixture to your entire head. Ready to unlock the secret to smooth, affordable hair? Let's dive into the step-by-step instructions and learn how to create your own effective and economical DIY hair relaxer cream.
Preparation and Safety Guidelines
- Double boiler
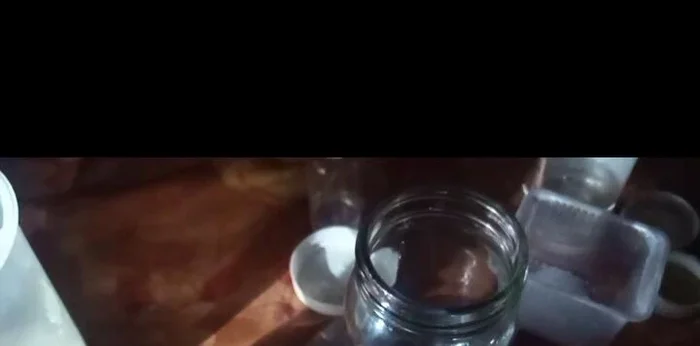
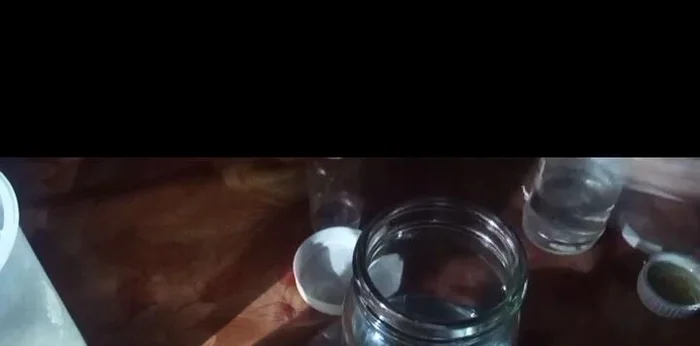
- Container for mixing (heat-resistant)
- Spatula or blender
- Measuring cups and spoons
- pH meter
- DIY hair relaxers can be extremely dangerous if not handled correctly. Improper mixing or application can cause severe chemical burns, hair damage, and even permanent scalp scarring. Proceed with extreme caution and at your own risk.
- Always perform a patch test 24-48 hours before applying the relaxer to your entire head. This helps identify any allergic reactions or sensitivities to the ingredients.
- Use protective gloves, eye protection, and good ventilation when mixing and applying the relaxer. Avoid contact with eyes and skin. If contact occurs, rinse immediately with plenty of cool water and seek medical attention if needed.
Step-by-Step Instructions
Prepare Oil Phase
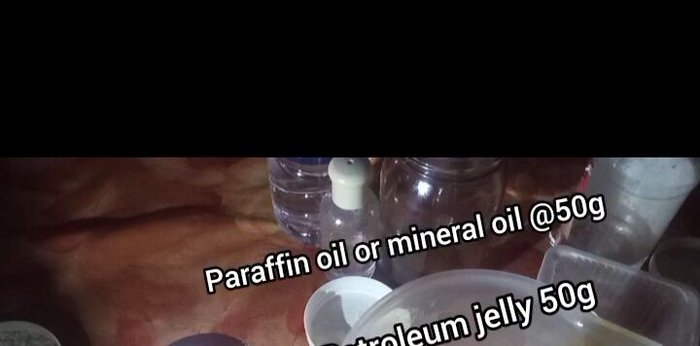
- Combine paraffin oil, petroleum jelly, and emulsifying wax in a heat-resistant container.
- Add Cetearyl Alcohol and Stearic Acid to the oil phase and mix well. These are emulsifiers that bind water and oil.

Prepare Oil Phase Prepare Water Phase
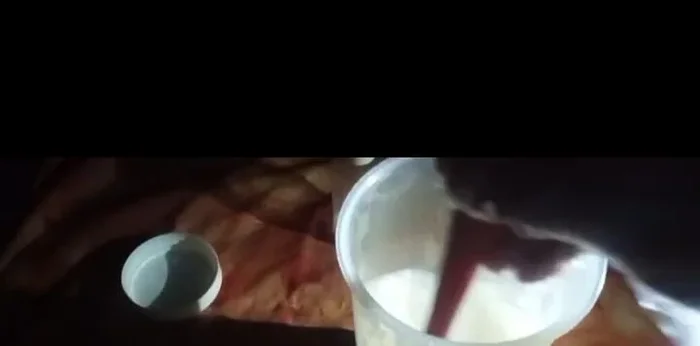
- In a separate container, mix 264g of water (distilled or deionized water is best) with a small amount of sodium hydroxide (lye). Dissolve completely (it is recommended to do this overnight, but the video shows a quicker method).
Prepare Water Phase Prepare Cool-Down Phase
- Mix EDTA and glycerin in a separate amount of water.
Prepare Cool-Down Phase Heat and Combine Phases
- Heat both the oil and water phases using a double boiler until they reach a similar temperature.
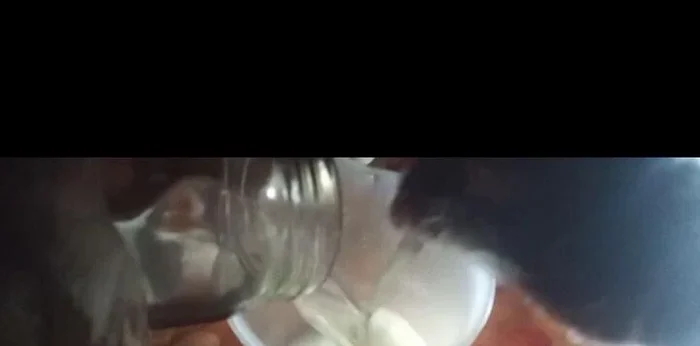
- Combine the heated oil and water phases, emulsifying them thoroughly using a spatula or blender. This process blends the water and oil into a lotion-like consistency.
Heat and Combine Phases Cool and Thicken
- Allow the mixture to cool and thicken, stirring occasionally to prevent separation.
Cool and Thicken Add Cool-Down Phase
- Once cooled to below 40°C, add the cool-down phase (EDTA, glycerin, and preservative).
- Mix thoroughly until a smooth, thick cream is formed.
Add Cool-Down Phase Check pH
- Check the pH of the final product (should be around 11.8).
Check pH


Tips
- Always use caution when handling sodium hydroxide (lye), as it can cause skin burns.
- Use distilled or deionized water for the best results.
- Stir the mixture periodically as it cools to prevent separation.
- Apply a small amount of cream to your scalp before use to prevent irritation.
- Use a neutralizing shampoo or conditioner after applying the relaxer.