Canary hair clippers, while small, are essential tools for maintaining your feathered friend's health and hygiene. A jammed clipper, however, can quickly turn a simple grooming session into a frustrating ordeal. Whether it's a stubborn clump of feathers, a build-up of oil, or simply a mechanical snag, a malfunctioning clipper can leave you and your canary stressed. Nobody wants a struggling bird during a crucial grooming process, and a broken clipper only adds to the worry. This is especially true considering how delicate a canary's feathers are and how easily they can be damaged by a forced grooming session.
Fortunately, many common clipper jams can be resolved with some simple troubleshooting. This quick guide provides easy-to-follow steps to diagnose and fix the most frequent causes of jammed canary hair clippers, getting you back to grooming your bird in no time. Let's dive into the step-by-step process to get your clipper working smoothly again.
Preparation and Safety Guidelines
- Canary Hair Clipper
- Screwdriver
- Always unplug the clipper from the power source before attempting any repairs or cleaning.
- Never attempt to force the clipper blades. This can cause damage and potentially injury.
- If you are uncomfortable performing any of the troubleshooting steps, consult a professional repair service.
Step-by-Step Instructions
Safety First
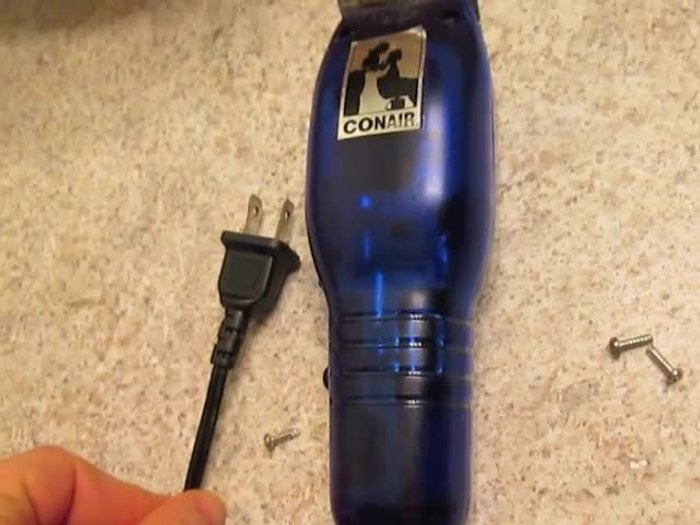
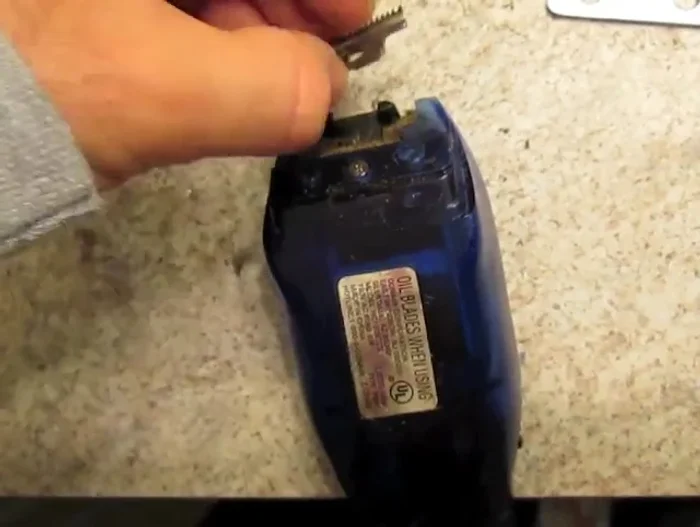
- Unplug the hair clipper to prevent electric shock.

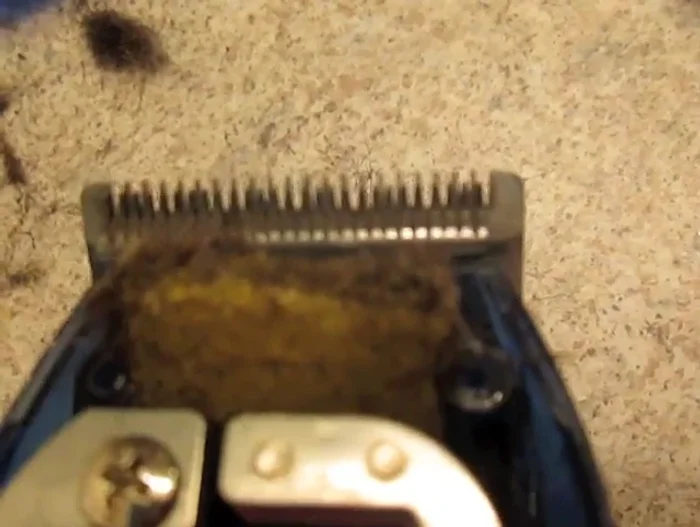
Safety First Disassembly and Cleaning
- Disassemble the hair clipper and remove the blades.
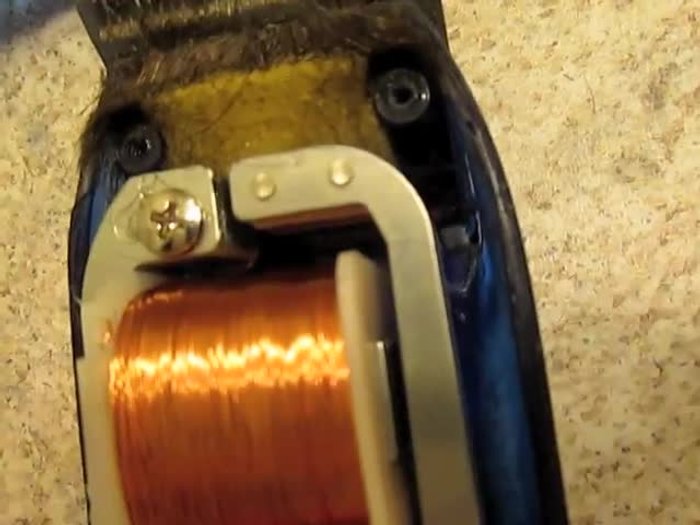
- Clean out accumulated hair and debris from the clipper's housing and around the blades.
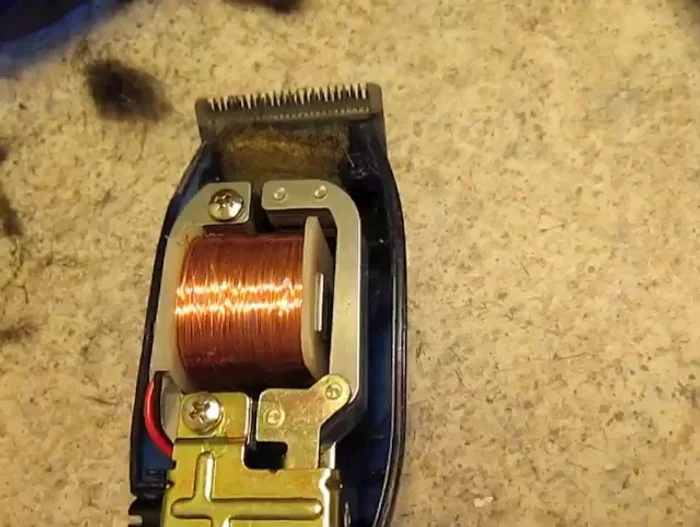
Disassembly and Cleaning Motor and Blade Inspection
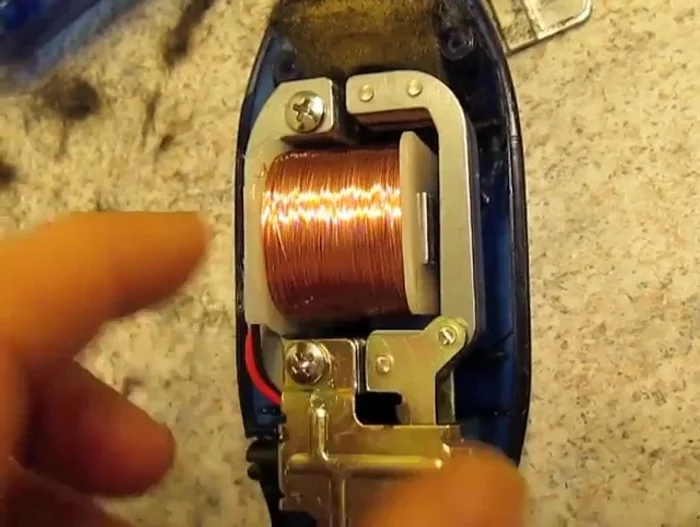
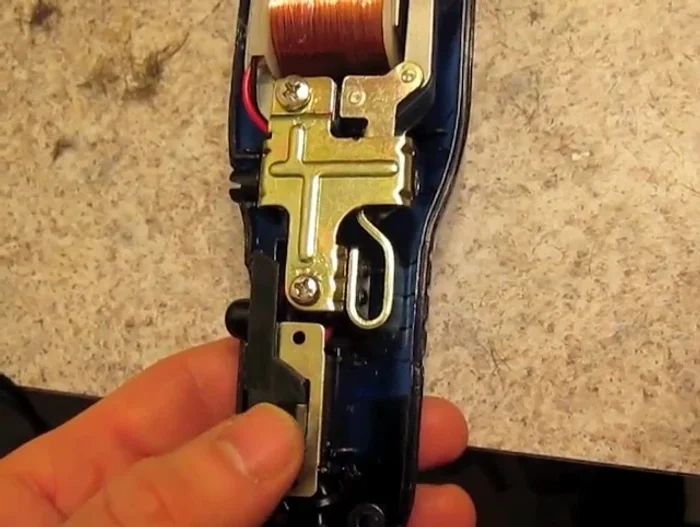
- Inspect the vibrating metal piece to ensure it moves freely.
- Test the motor by briefly activating the power switch (while ensuring you're only touching the switch).
Motor and Blade Inspection Reassembly and Initial Test
- Reassemble the hair clipper, ensuring the blades are properly aligned.
- Plug in the clipper and check if the blades are vibrating.
Reassembly and Initial Test Blade Adjustment
- If the blades aren't vibrating, loosen the blade screws slightly to see if they were too tight.
- Tighten the screws until the blades are snug but still vibrating.
Blade Adjustment

Read more: Mastering Trimmer Blade Adjustment for a Perfect Cut
Tips
- Over-tightening the blades can jam them, preventing vibration. Ensure they are snug but not overly tight.