Has your Philips Norelco QC5530 hair clipper attachment cracked, rendering precise trims a frustrating challenge? Replacing the attachment can be expensive and finding a compatible part proves difficult. This DIY guide offers a cost-effective solution to repair cracked plastic housing, saving you both time and money. Using readily available materials like super glue and inexpensive metal wire, you can reinforce the weakened areas and restore your clipper's functionality. This simple repair technique is a viable alternative to purchasing a potentially costly replacement.This guide walks you through a straightforward, step-by-step process to repair common cracks around the pivot point and edges of your QC5530 attachment. Learn how to strategically drill small holes, insert flexible metal wire for reinforcement, and securely bond the cracks using super glue. This method allows you to extend the life of your valuable hair clipper accessory for just a few dollars, offering a practical and budget-friendly solution to a common problem.
Pros And Cons
- Worked well for several years and many uses.
- Broke in several locations (plastic cracked).
- Replacement attachments were expensive or unavailable.
Read more: Top 9 Best Manual Hair Clippers
The Problem: Broken Clipper Attachment
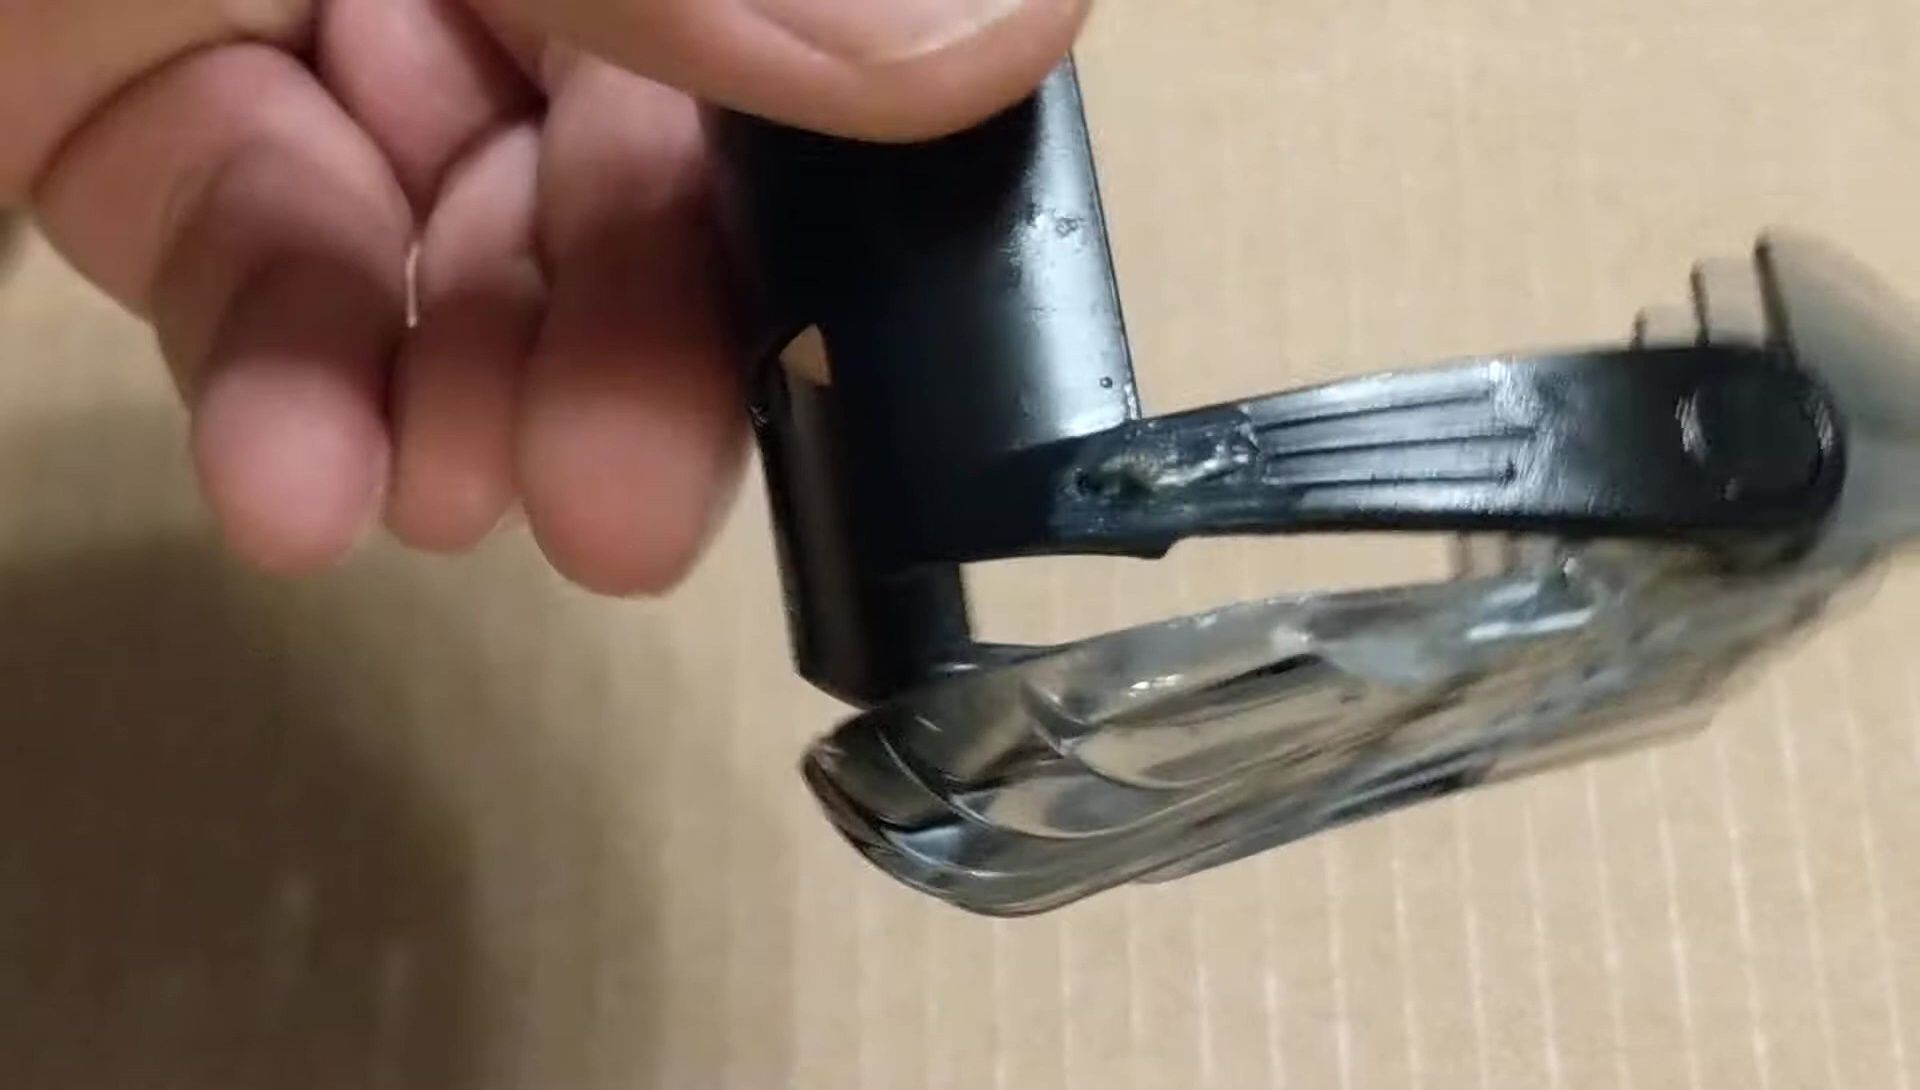
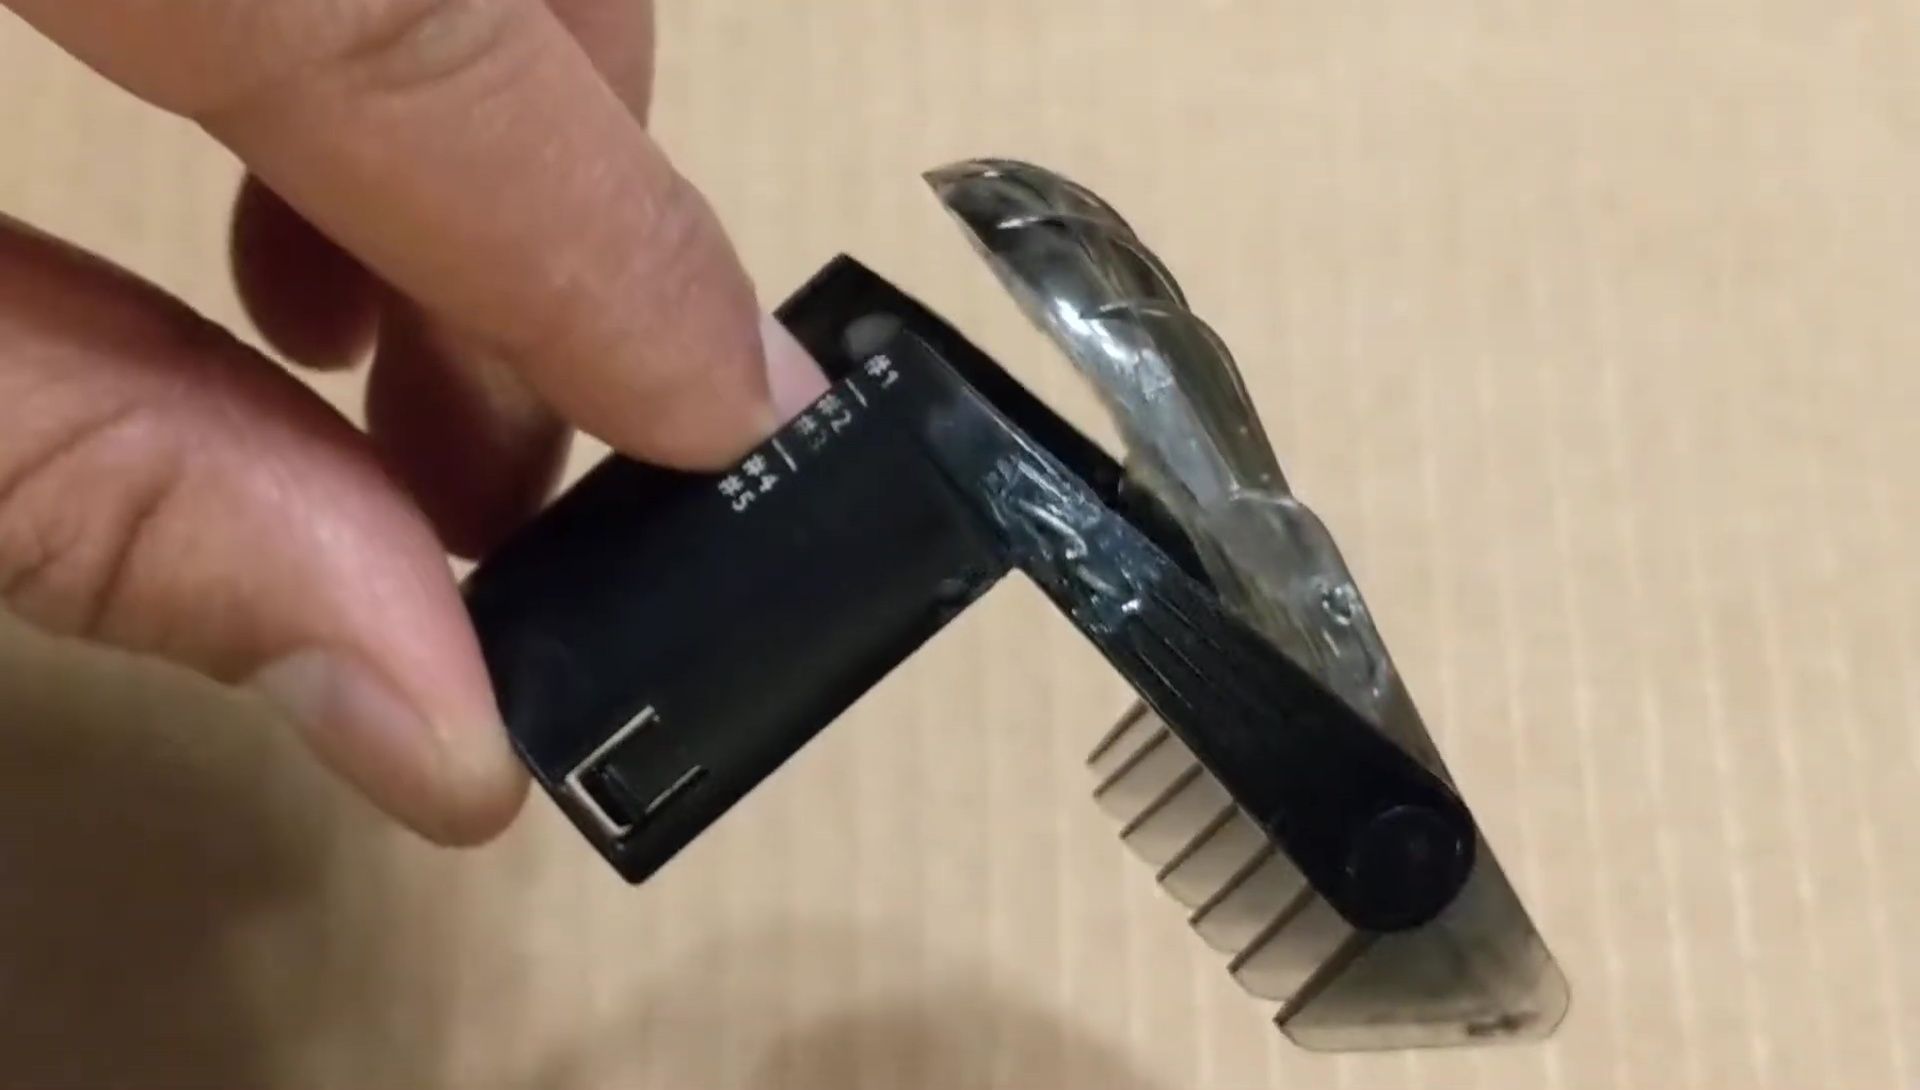
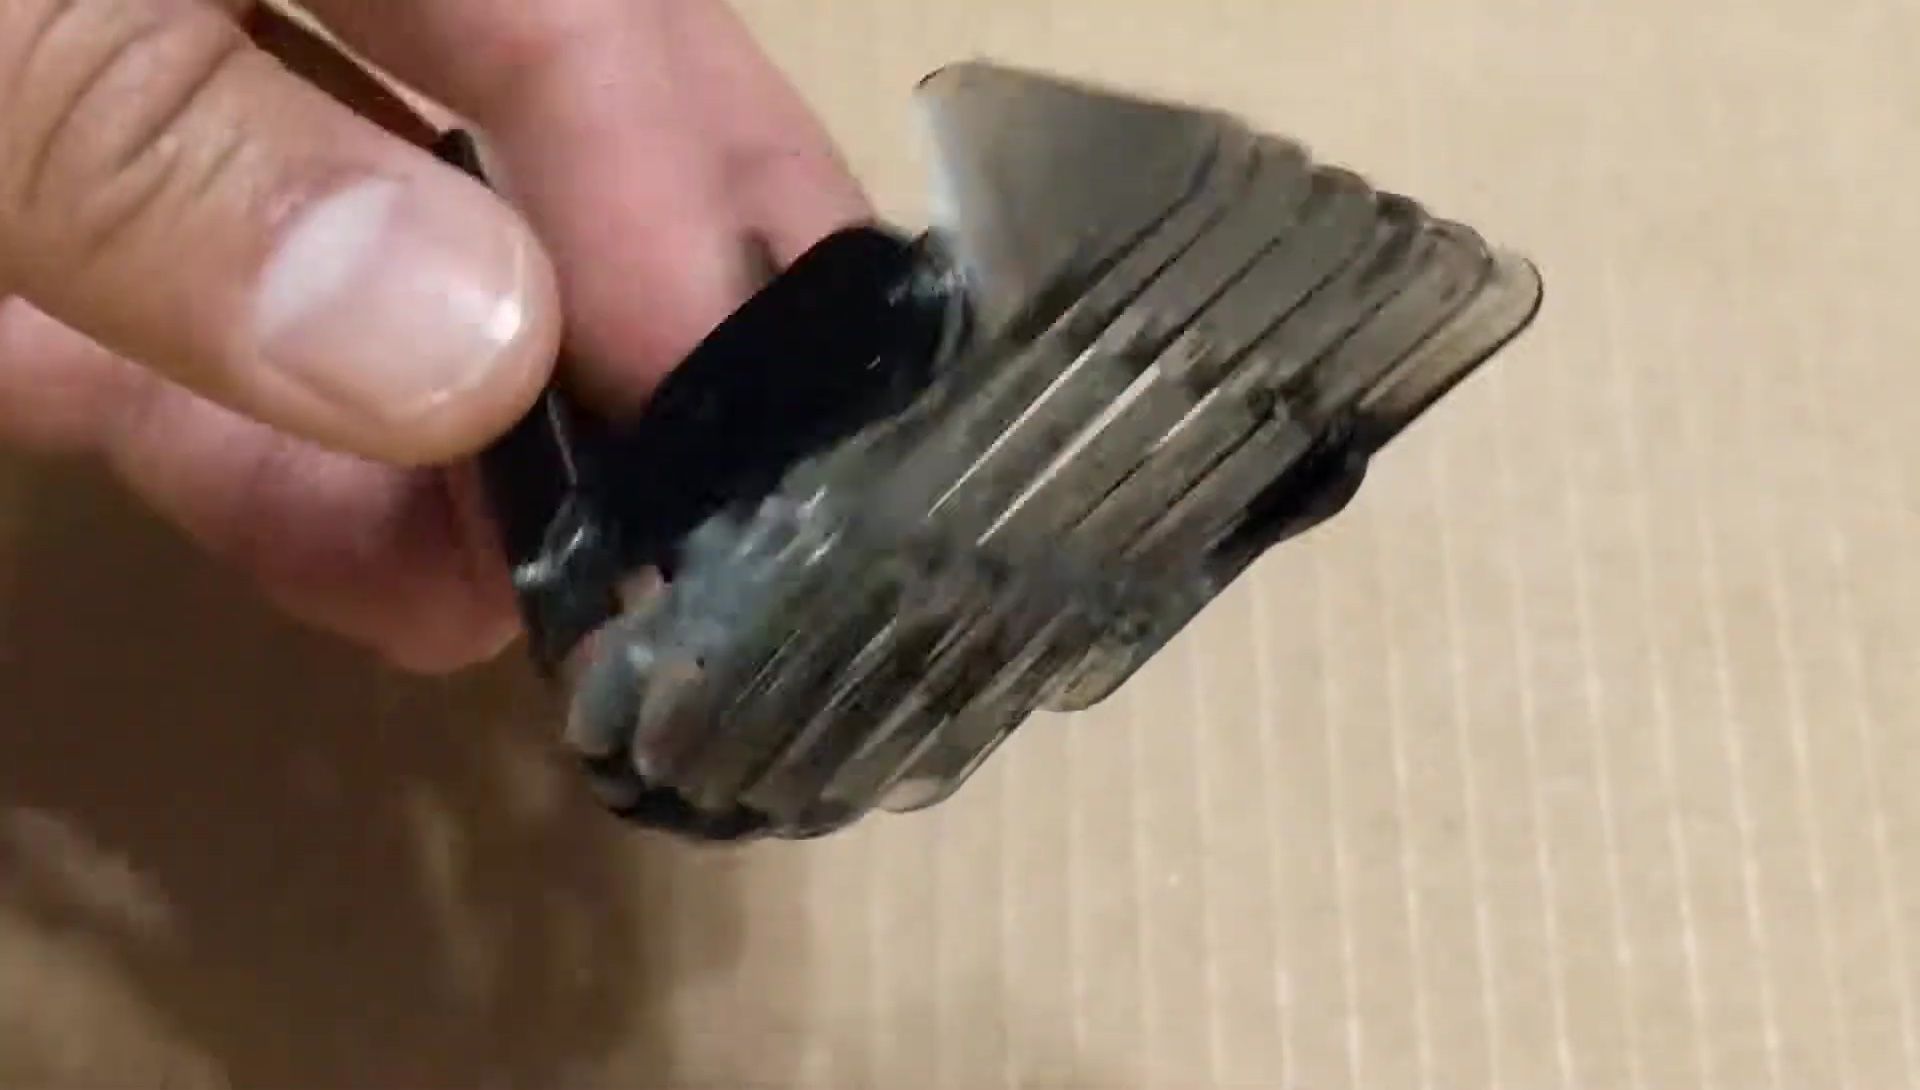
My Philips Norelco QC5530 hair clipper attachment, which I've used extensively over a couple of years, started breaking in several places. The plastic cracked in multiple locations, rendering it less effective. This was frustrating because the attachment is crucial for achieving precise hair trims. I considered replacing it but finding a compatible attachment proved challenging and costly.
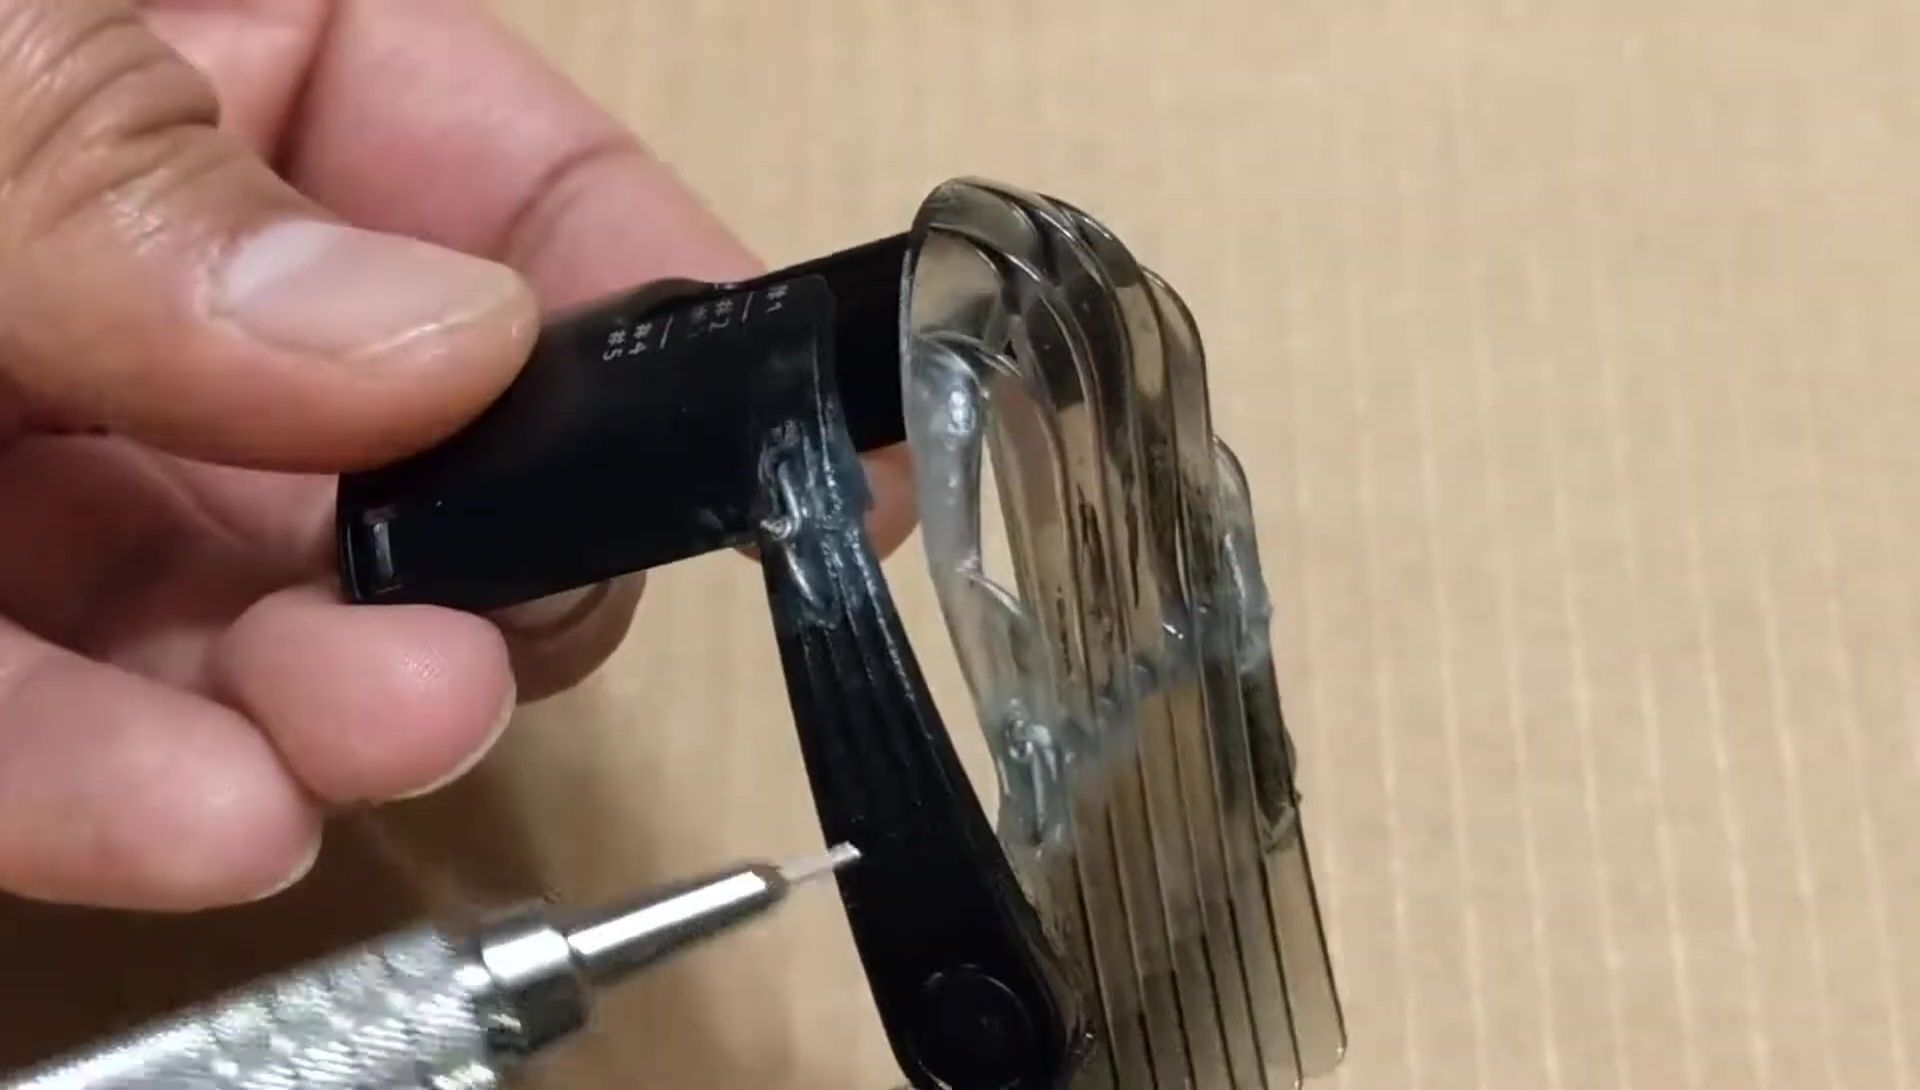
The primary cracks appeared near the pivot point and around the edge of the plastic housing. These cracks made the attachment unstable and unreliable, affecting the quality of my haircuts. This prompted my attempt at a DIY repair.
I decided to attempt a repair myself rather than buying a replacement due to the high cost and the difficulty in locating a compatible part. I knew I needed a cost-effective and practical solution to this common problem.
The Repair Process: A Simple DIY Solution
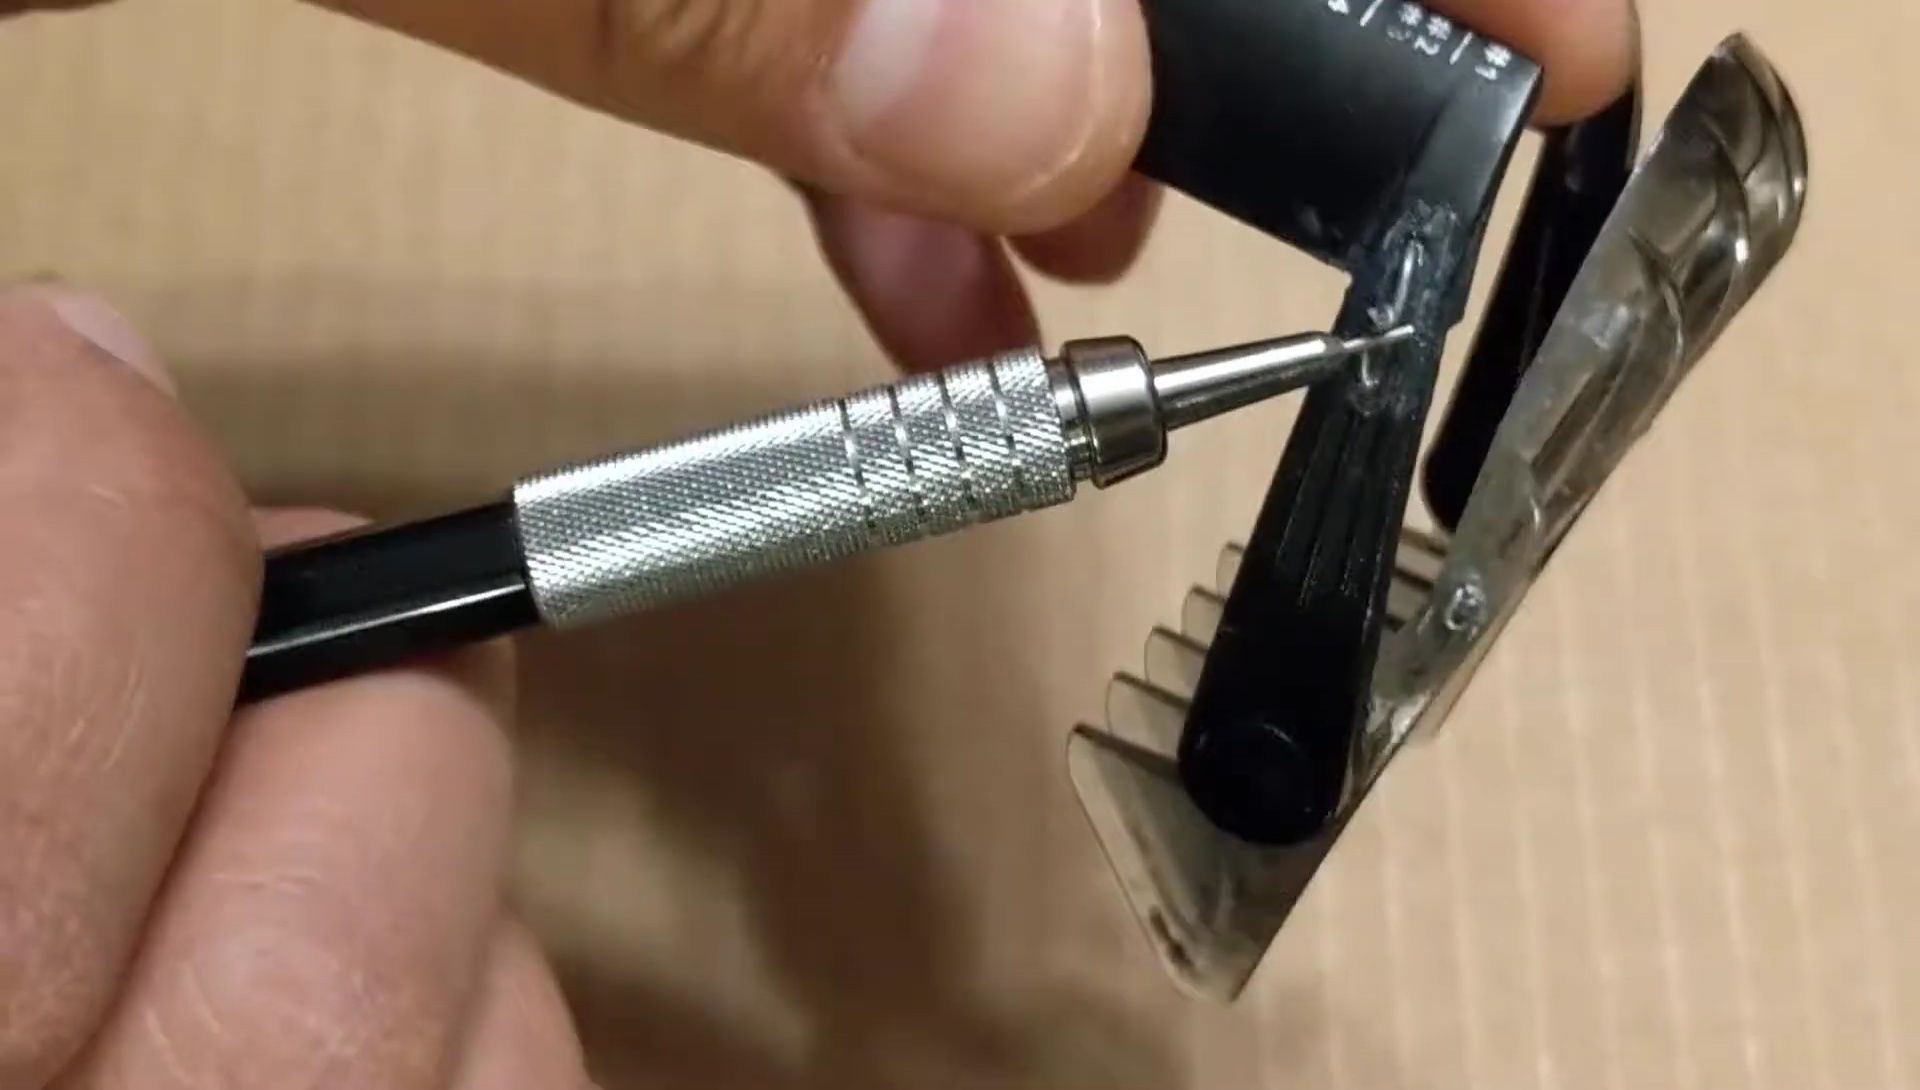
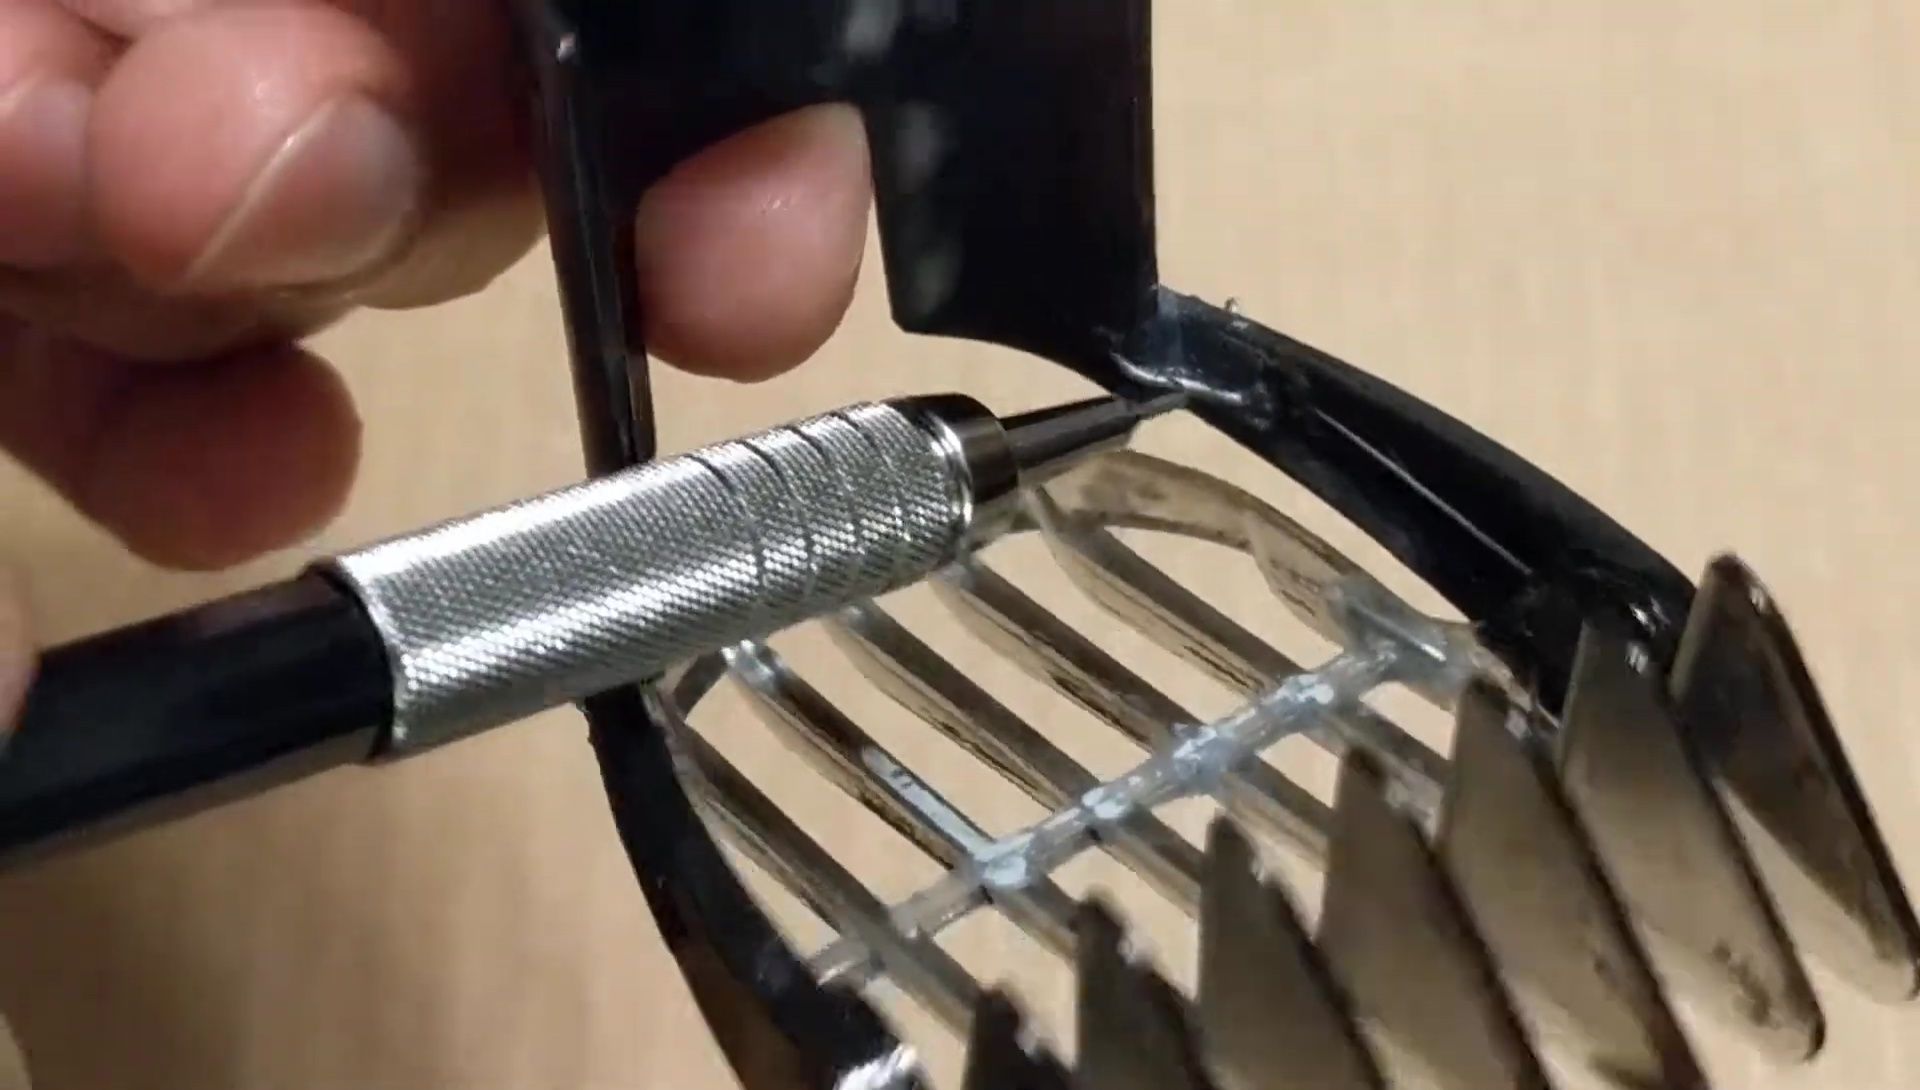
My repair involved drilling small holes (1/8 inch) on either side of each crack. This allowed for a secure insertion of a reinforcement material. The use of small holes and super glue helped prevent further cracking or splitting.
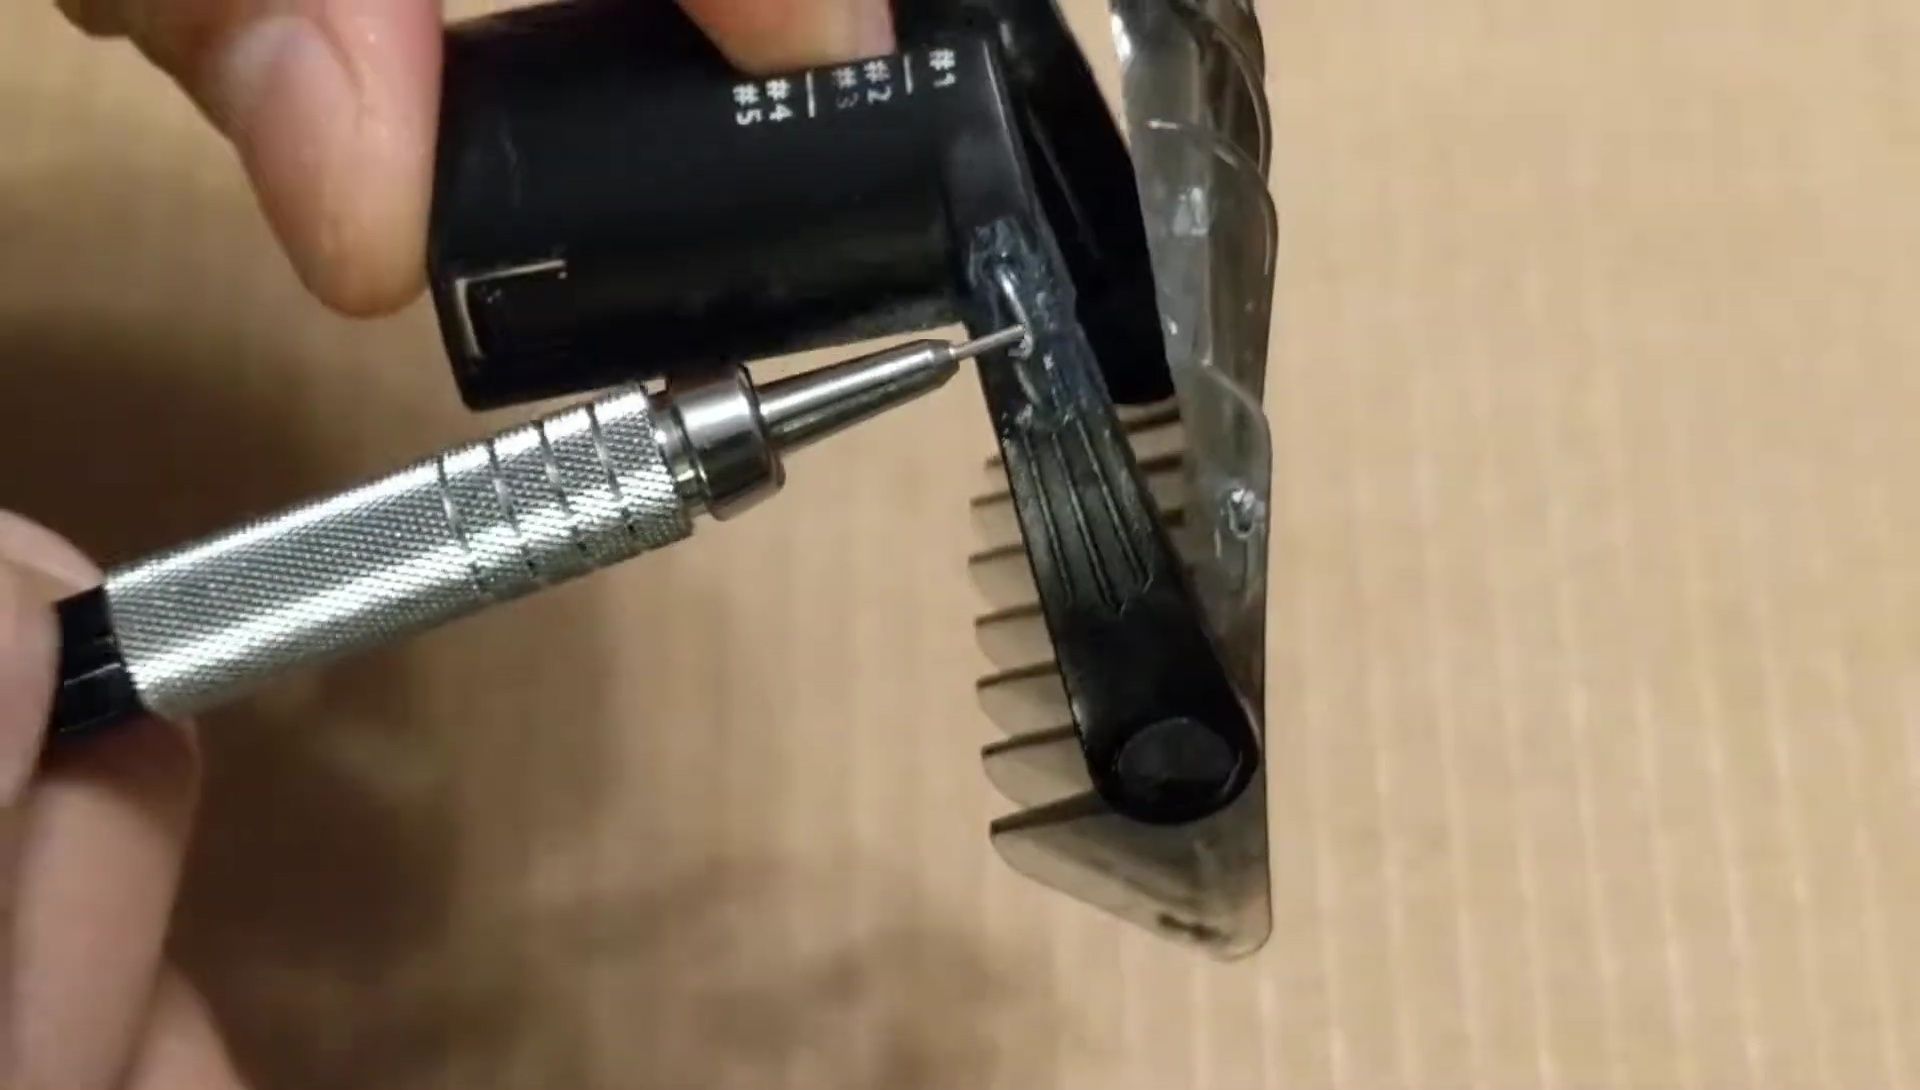
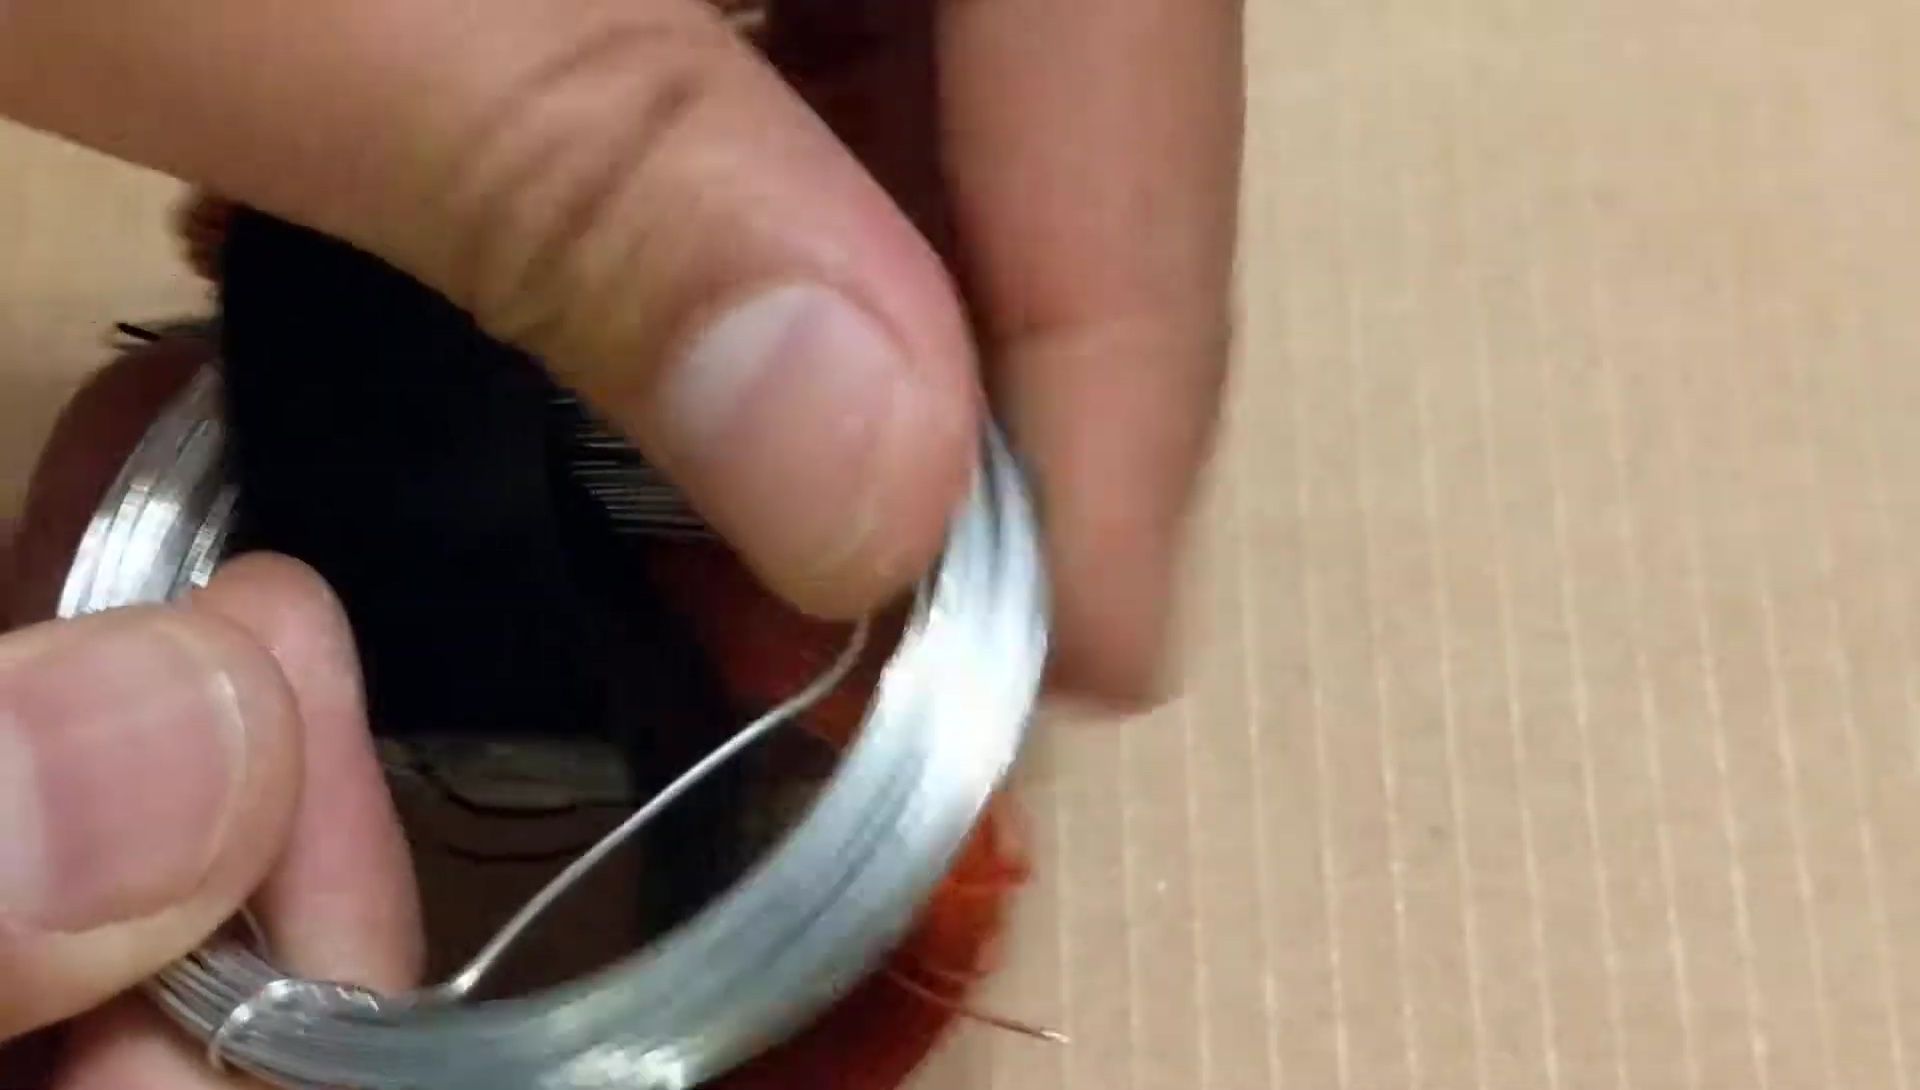
I then used thin, flexible metal wire (approximately 1/16 inch thick), which I purchased from a dollar store, to reinforce the cracks. I carefully inserted the wire through the holes and along the length of the cracks to bridge the broken parts.
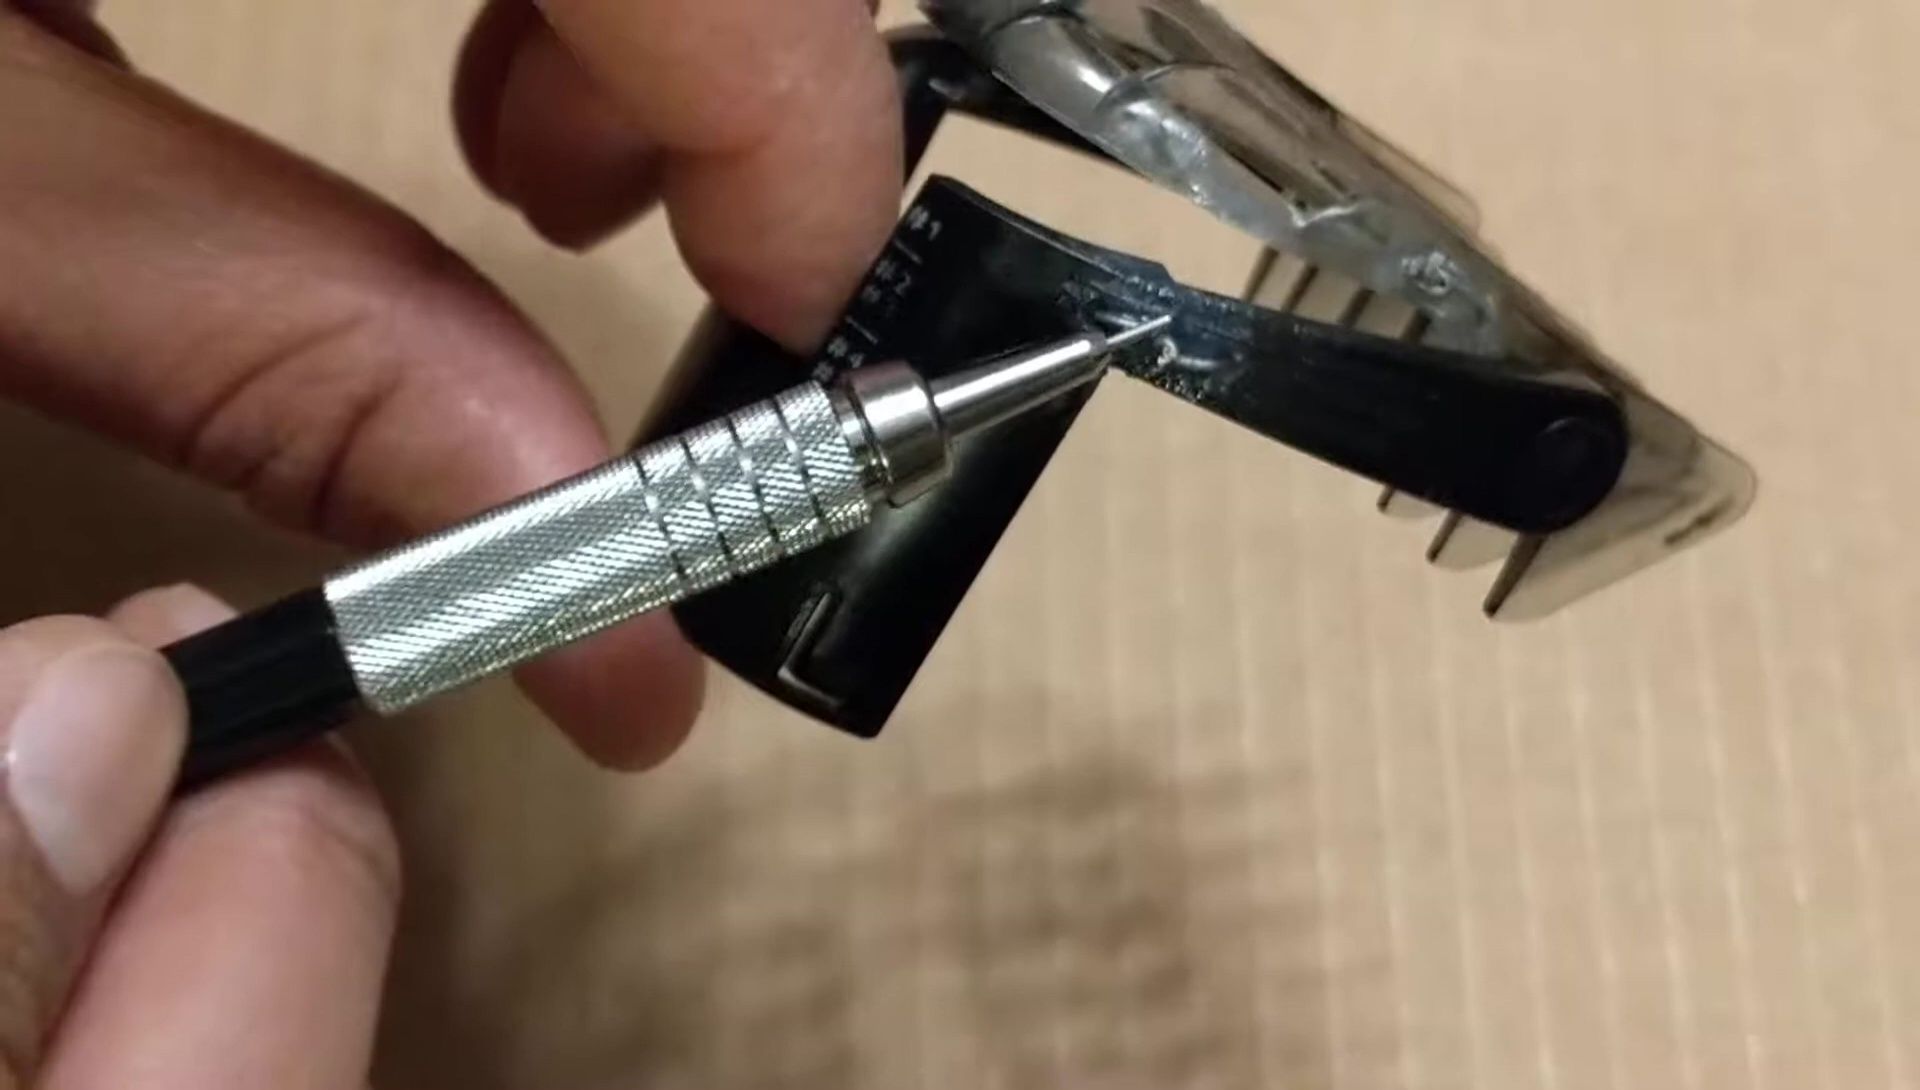
After applying super glue to the cracks, I threaded the wire through the drilled holes and secured it by twisting the ends with pliers. This created a strong internal reinforcement for the broken plastic. The excess wire was then trimmed to ensure a clean finish.
Materials and Cost
The materials required for this repair were readily available and inexpensive. I used super glue, which is commonly found in most households, and a small piece of flexible metal wire. The wire cost less than a dollar from a dollar store.
The entire repair cost less than a few dollars, significantly less than the cost of purchasing a replacement attachment. This DIY solution offered a practical and budget-friendly way to extend the lifespan of my hair clipper.
The total cost of the repair was minimal and significantly cheaper than the price of buying a replacement which I estimated to be around $15. The dollar store metal wire proved an unexpectedly effective solution.
Conclusion and Results
After repairing all four cracked areas using this method, the Philips Norelco QC5530 hair clipper attachment is once again fully functional. I have used it several times since the repair, and it has performed well with no recurrence of the problems.
This DIY repair provides a cost-effective and practical solution for fixing broken hair clipper attachments. It's a great option if you're unable to find a replacement or if the cost is prohibitive. While replacement is always an option, this is a good alternative.
I highly recommend this DIY repair method as a viable alternative to expensive replacements. It's a simple, efficient, and affordable way to keep your hair clipper functioning at its best, saving you both time and money.