Relaxing a child's hair can be a daunting task, fraught with the risk of damage and breakage. This detailed guide walks you through my experience using the Just For Me No-Lye Relaxer Kit on my daughter's hair, emphasizing a gentle, step-by-step approach designed to minimize those risks. From meticulous preparation to careful post-relaxer care, I'll share the techniques I employed to ensure a smooth and safe experience. This isn't just a product review; it's a comprehensive tutorial on how to achieve healthy, relaxed hair for your child while prioritizing their hair's well-being.This step-by-step process focuses on preventing breakage at every stage. We'll cover pre-relaxer conditioning to protect the scalp and hair ends, meticulous application techniques to avoid harsh chemical exposure, and a post-relaxer care routine to restore moisture and hydration. I'll also share how I handled an unexpected delay in processing time due to illness, highlighting the importance of following instructions carefully. Ultimately, this guide aims to empower you with the knowledge and confidence to relax your child's hair safely and effectively, achieving beautiful, healthy results.
Read more: Top 10 Nairobi Hair Relaxers
Hair Preparation
Before applying the relaxer, it's crucial to prepare my daughter's hair properly. This includes detangling her hair thoroughly to prevent any pulling or damage during the process. I used a wide-tooth comb and gentle motions to avoid unnecessary stress on her strands.
Next, I sectioned her hair into manageable parts. This ensures even distribution of the relaxer and helps me avoid missing any sections. Using clips to hold each section in place keeps the process organized and efficient.
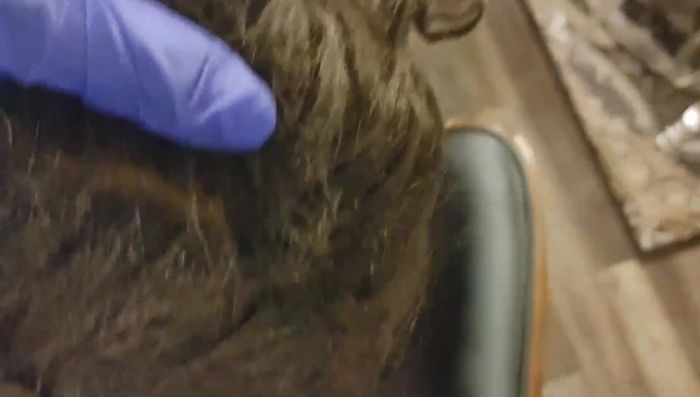
Finally, I applied a generous amount of Blue Magic conditioner to protect her scalp and hair ends from the relaxer. This is a vital step in preventing damage and ensuring a smooth relaxing experience. This protective barrier minimizes the risk of irritation or chemical burns.
Relaxer Application
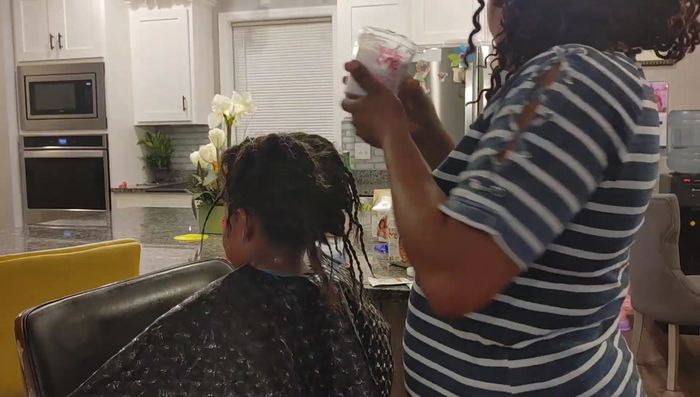
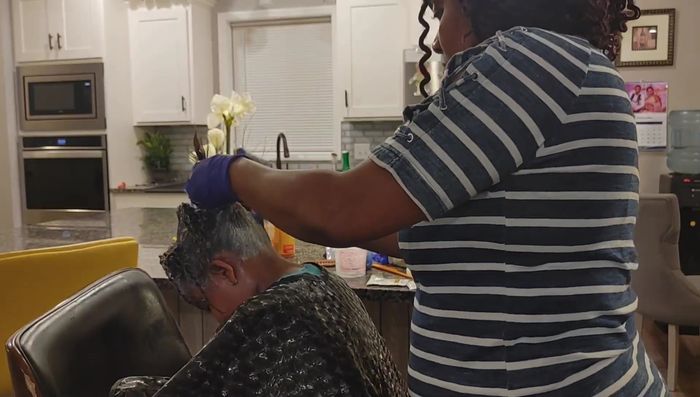
With the hair prepared, I carefully applied the Just For Me No-Lye Relaxer Kit, focusing solely on the new growth. It’s critical to avoid applying the relaxer to previously treated hair to minimize breakage.
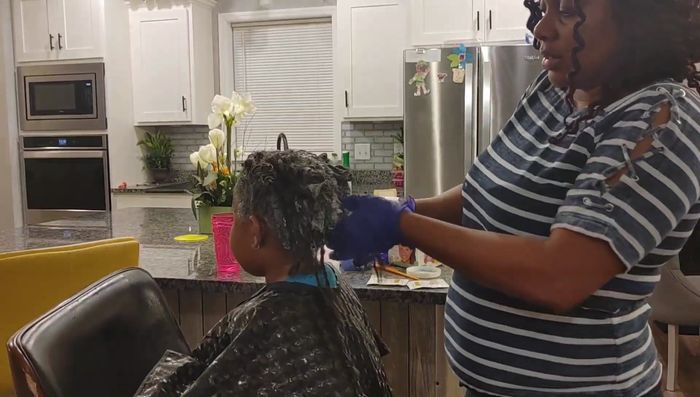
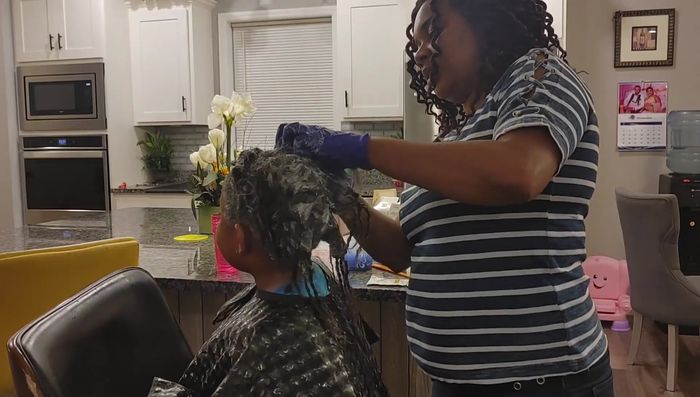
Using my hands, I worked the relaxer into the new growth using gentle up-and-down strokes. This method provides even coverage and reduces the risk of harsh chemical exposure to the scalp. I avoided applying the relaxer near the scalp to prevent burns.
After applying the relaxer, I gently massaged it into the hair, ensuring complete penetration of the product. This ensures that the relaxer softens the new growth effectively and consistently.
Rinsing and Conditioning
Once the relaxer's processing time was complete (though extended due to illness), I carefully rinsed my daughter's hair thoroughly with lukewarm water to remove all traces of the chemical. I was extra cautious to ensure that every bit of relaxer was gone.
After rinsing, I applied a deep conditioner to restore moisture and hydration to the hair. This step helps neutralize the chemicals and promotes the hair's overall health and shine. I left the conditioner in for a few minutes for optimal absorption.
Following the conditioner treatment, I gently towel-dried my daughter's hair to remove excess moisture. It's important to be extra gentle during this step, as wet hair is more susceptible to damage.
Final Touches and Styling
After blow-drying, I applied a leave-in conditioner and moisturizer to further hydrate and protect my daughter’s hair. This step helped restore moisture and prevent dryness after the relaxing process.
Finally, I gently combed through her hair to detangle any remaining knots and style it. I focused on gentle strokes to prevent breakage. Keeping the hair well-moisturized is key to its health.
This step-by-step process ensures that my daughter’s hair remains healthy and strong even after the relaxing treatment. The attention to detail, from careful preparation to gentle styling, minimizes the risk of damage and breakage.
Conclusion
Using the Just For Me No-Lye Relaxer Kit on my daughter's hair was a success, thanks to a careful step-by-step process. This kit, combined with preventive measures like generous use of conditioner and gentle handling, delivered a smooth relaxing experience without excessive breakage.
While the extended processing time due to illness showed the importance of following instructions as closely as possible, the results speak for themselves. The relaxer successfully straightened her hair without causing damage.
Overall, the Just For Me No-Lye Relaxer Kit is a worthwhile product for parents who want to relax their child’s hair while minimizing breakage. The key is careful preparation, attentive application, and gentle post-relaxer care.