This guide provides a comprehensive maintenance and review of the Panasonic ER1512 hair clipper. Known for its robust performance and classic design, the ER1512 is a reliable tool for standard haircuts. However, like all clippers, regular maintenance is crucial to ensure optimal performance and longevity. This article details a step-by-step process for cleaning and inspecting the internal components of the ER1512, focusing on areas prone to hair buildup that can impact its power and cutting efficiency. We'll address common issues, specifically highlighting the importance of cleaning around the motor to prevent performance degradation.This review covers the essential maintenance procedures, including accessing the internal mechanisms, removing hair and debris, and the safe reassembly of the clipper. We will also discuss the ER1512's strengths and weaknesses, offering an honest assessment of its suitability for different users and cutting styles. Discover how regular cleaning can significantly extend the lifespan of your Panasonic ER1512 and maintain its exceptional cutting performance, making it a worthwhile investment for those willing to commit to proper upkeep.
Pros And Cons
- Works super well for parts that are not degraded
- Classic cut
- Timeless
- Super powerful
- Super reliable
- Has a program that swallows hair
- Loses a lot of power due to hair getting into the motor
- Does not adjust to 0 0 (not good for making gradients)
Read more: Top 9 Best Manual Hair Clippers
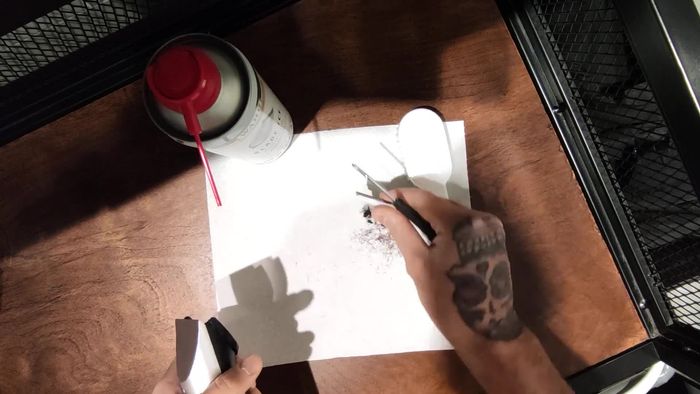
Accessing the Internal Components
To begin maintenance, carefully access the lower part of the Panasonic ER1512. This usually involves removing screws and potentially other panels to expose the internal mechanisms. Take your time to avoid damaging any delicate parts. Remember to be gentle and methodical.
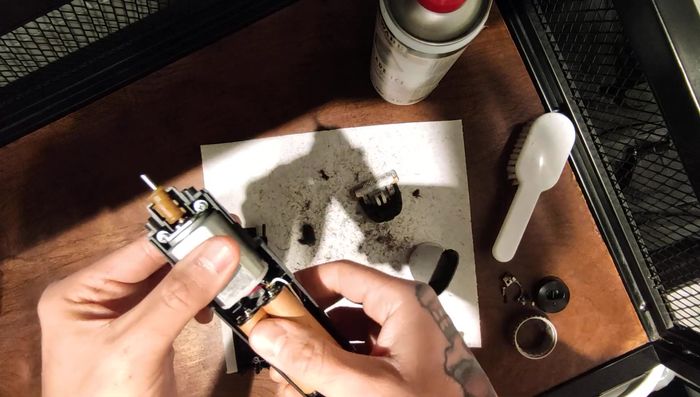
Once access is granted, you'll be able to inspect the motor and surrounding components. Pay close attention to any areas where hair or debris might accumulate. This is crucial for maintaining the device's performance and longevity.

Hair Removal and Motor Cleaning
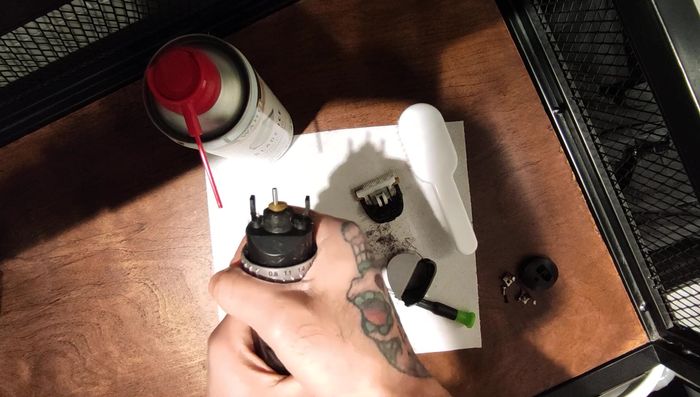
A common issue with the ER1512 is hair buildup around the motor in position 08. This can significantly reduce power and performance. The thread mechanism is often implicated in this issue. To solve it, access the point where the hair accumulates.
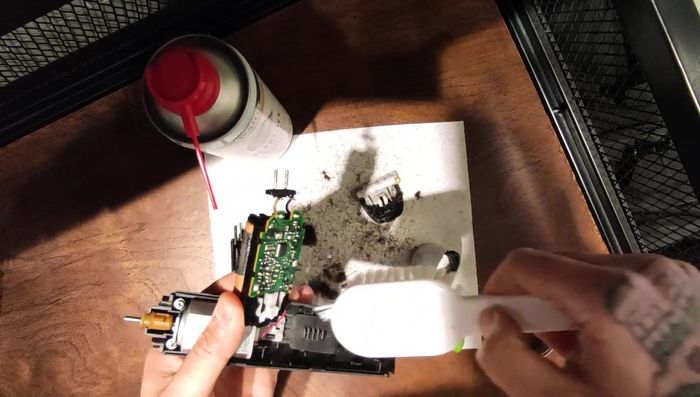
Carefully remove any accumulated hair. Inspect the motor for any signs of damage or excessive wear. This thorough cleaning will greatly improve the clipper’s efficiency and prolong its lifespan.

Reassembly and Functionality Check
After cleaning, carefully reassemble the Panasonic ER1512. Ensure all screws are securely tightened and that all cables are properly connected, avoiding any pinching or damage. Double-check that all components are correctly positioned.

Once reassembled, test the functionality of the clipper. Check the cutting action and ensure that all buttons and controls work correctly. A thorough testing phase is vital to verify that the maintenance process was successful.
Overall Review and Conclusion
The Panasonic ER1512 is a powerful and reliable clipper with a classic design. It excels at standard cuts and boasts lasting durability. While it does suffer from occasional hair buildup, regular maintenance significantly mitigates this issue.
Despite its susceptibility to hair clogging, the ER1512 is a worthy investment for its robust performance and longevity if properly maintained. The ease of maintenance makes it a good choice for frequent users who are willing to do regular cleaning. However, note that it's not suitable for gradient cuts due to its limited adjustment settings.
