This blog post details my at-home ombre hair transformation using Redken Flash Lift bleach, taking my naturally dark roots and previously colored ends to a stunning bright blonde and honey blonde blend. The journey was ambitious, requiring two bleaching sessions and a toning process to achieve the desired lightness and neutralize any brassiness. I share a comprehensive account of the products used, the step-by-step process, and the crucial post-bleach care routine that was essential to maintain the health and vibrancy of my hair.This detailed guide walks you through the challenges and triumphs of bleaching hair at home, including the time commitment and the importance of understanding hair care products. While I achieved excellent results thanks to my thick hair and prior knowledge, I emphasize the risks involved and strongly recommend professional help for those with less experience or finer hair. My experience serves as a case study, highlighting the potential benefits and drawbacks of DIY bleaching, and offering insights into achieving a beautiful ombre result.
Read more: Bleaching My Hair Using Clairol KaleidoColors: A Personal Journey
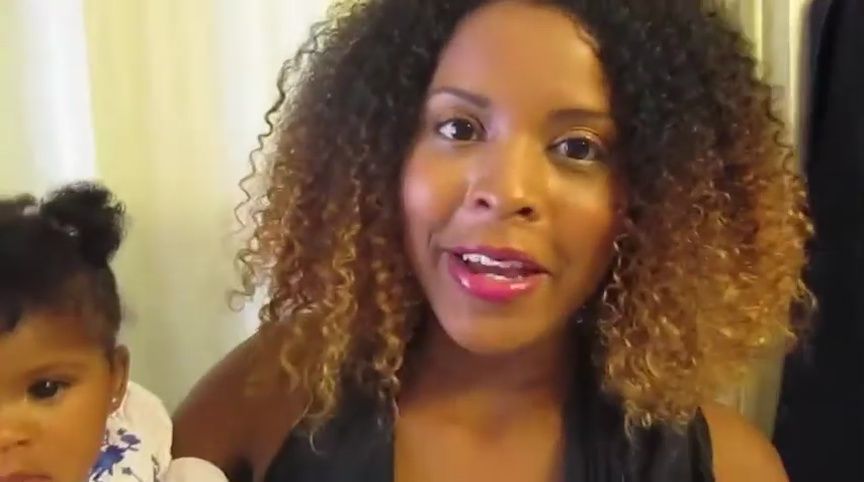
Before We Begin: My Starting Point
My hair journey started with a base of naturally dark roots and previously colored ends (a professional job from a couple of years ago). The color had grown out significantly, resulting in a noticeable ombre effect. I hadn't washed my hair for a week prior, having worn it in a bun. This wasn't ideal, as combing it out dry took hours, a point I definitely do not recommend.
The goal was to lift the previously colored ends to a bright blonde and then take my natural hair to a honey blonde shade. A pretty ambitious plan, if I do say so myself!
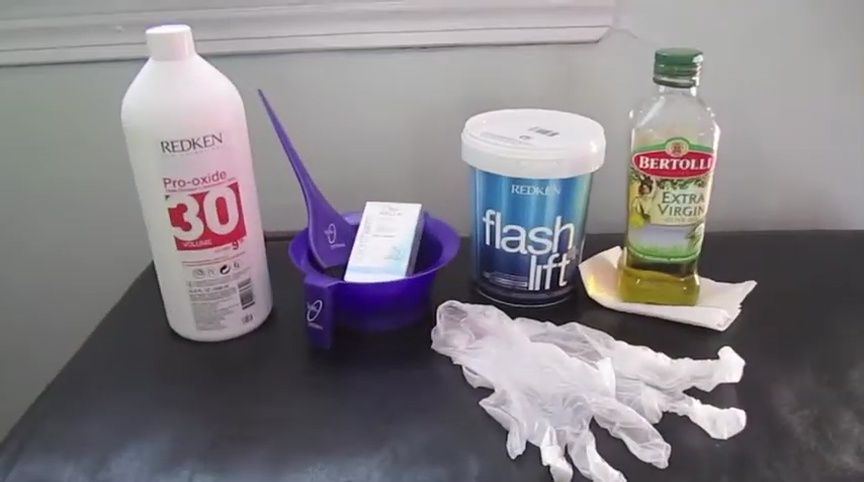
The Bleaching Process: Products and Technique
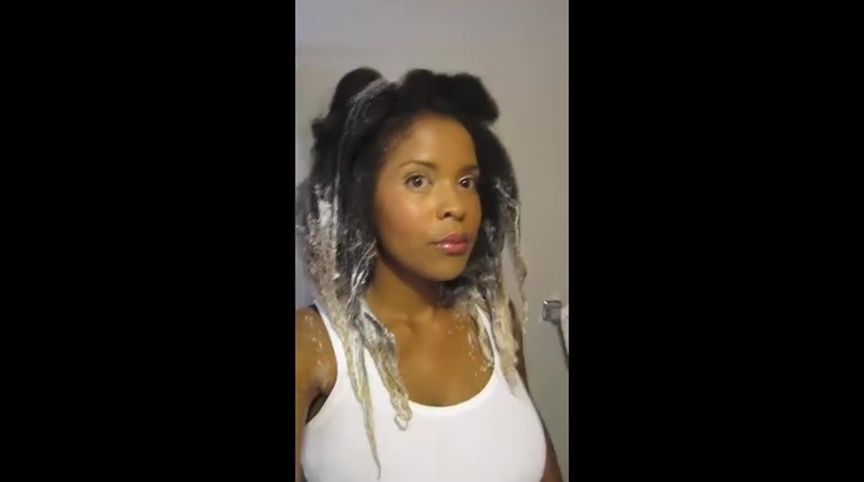
For this transformation, I used Redken 30 Volume peroxide, a coloring bowl and brush, Color Charm in T18, Redken Flash Lift powder bleach, extra virgin olive oil, and protective gloves. I began by applying the bleach to the already colored ends, working my way up in sections. I only applied the bleach a few inches higher on the second layer of application.
The first application took about 30 minutes before washing out. As you can see in the video, the previously colored ends quickly lifted to a light blonde, while the second level transitioned into a honey brown. I decided to go for a second bleaching process to achieve even more lift and brightness.
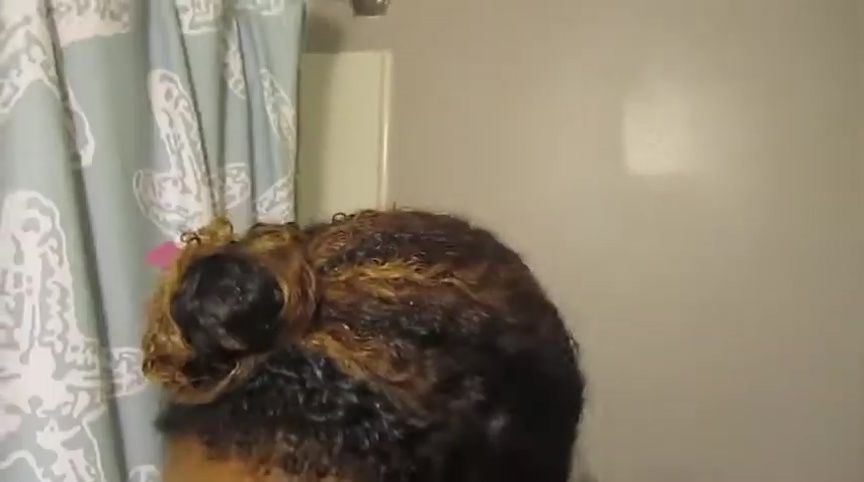
Second Bleaching Process and Toning
The second bleaching process was more time-consuming but provided a significantly lighter result. Even after the second round, the hair still had some brassiness, so toning became crucial. I used a toner mixed with developer and a touch of olive oil to neutralize any unwanted yellow tones.
After toning, I deep-conditioned my hair with a mix of conditioners to restore moisture and manageability after the bleaching process. The entire process was exhausting but I was happy with the outcome.
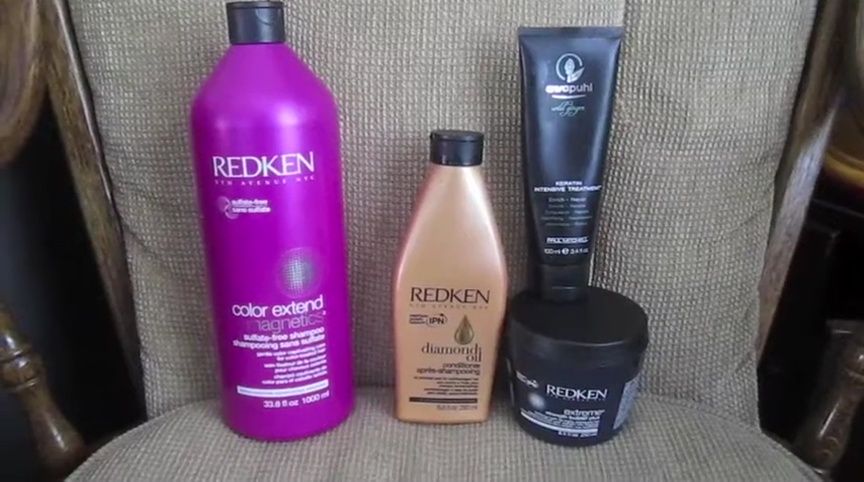
Post-Bleaching Care and Final Results
Post-bleach care was essential. I used Redken Color Extend Magnetic sulfate-free shampoo, Redken Diamond oil, Extreme protein, and Paul Mitchell’s intensive keratin treatment to keep my hair healthy and nourished. This helped to maintain the color and overall condition.
The final result was a stunning ombre, with bright blonde ends blending beautifully into honey blonde mid-lengths. I was very satisfied, though the entire process was quite a commitment in terms of time and effort. It’s a look I am definitely happy with.
Conclusion: Worth the Effort?
Bleaching your hair at home, especially to this degree, is definitely a commitment. It requires patience, time, and a decent understanding of hair care products. While I achieved excellent results, it's crucial to remember that this was a personal experience. I have a significant amount of hair, which acted as a buffer if anything went wrong. For those with less hair or less experience, I would strongly advise against this process without professional assistance.
The Redken Flash Lift powder bleach did a commendable job of lifting the color, although it did take a second application to achieve my desired result. The overall look turned out great, but the time investment was significant and the process was fairly intensive. If you're considering this type of bleaching process, do your research, use caution, and consider professional help.