This article details the unexpected challenges and ultimate success in sharpening a pair of shears featuring a unique and unconventional screw mechanism. The decorative skull element, secured by an unusual "UFO" screw, initially prevented standard sharpening techniques. This presented a significant obstacle requiring careful disassembly to access the blades for sharpening. The process highlighted the importance of possessing specialized tools and patience when dealing with non-standard hardware.The journey involved identifying the hidden fastener, employing a specialized bit for removal, and then meticulously cleaning the mechanism before proceeding with the sharpening itself. This account offers a compelling case study of problem-solving and precision work, ultimately showcasing a successful sharpening process despite the initial complications posed by the unique shear design. The article also touches upon the potential long-term reliability concerns of the original, unusual screw mechanism.
Pros And Cons
- Sharp
- High-end
- Unusual screw design makes disassembly difficult.
- Screw design prone to loosening.
Read more: Top 10 Fromm Hair Scissors: A Buyer's Guide
The Mysterious Screw
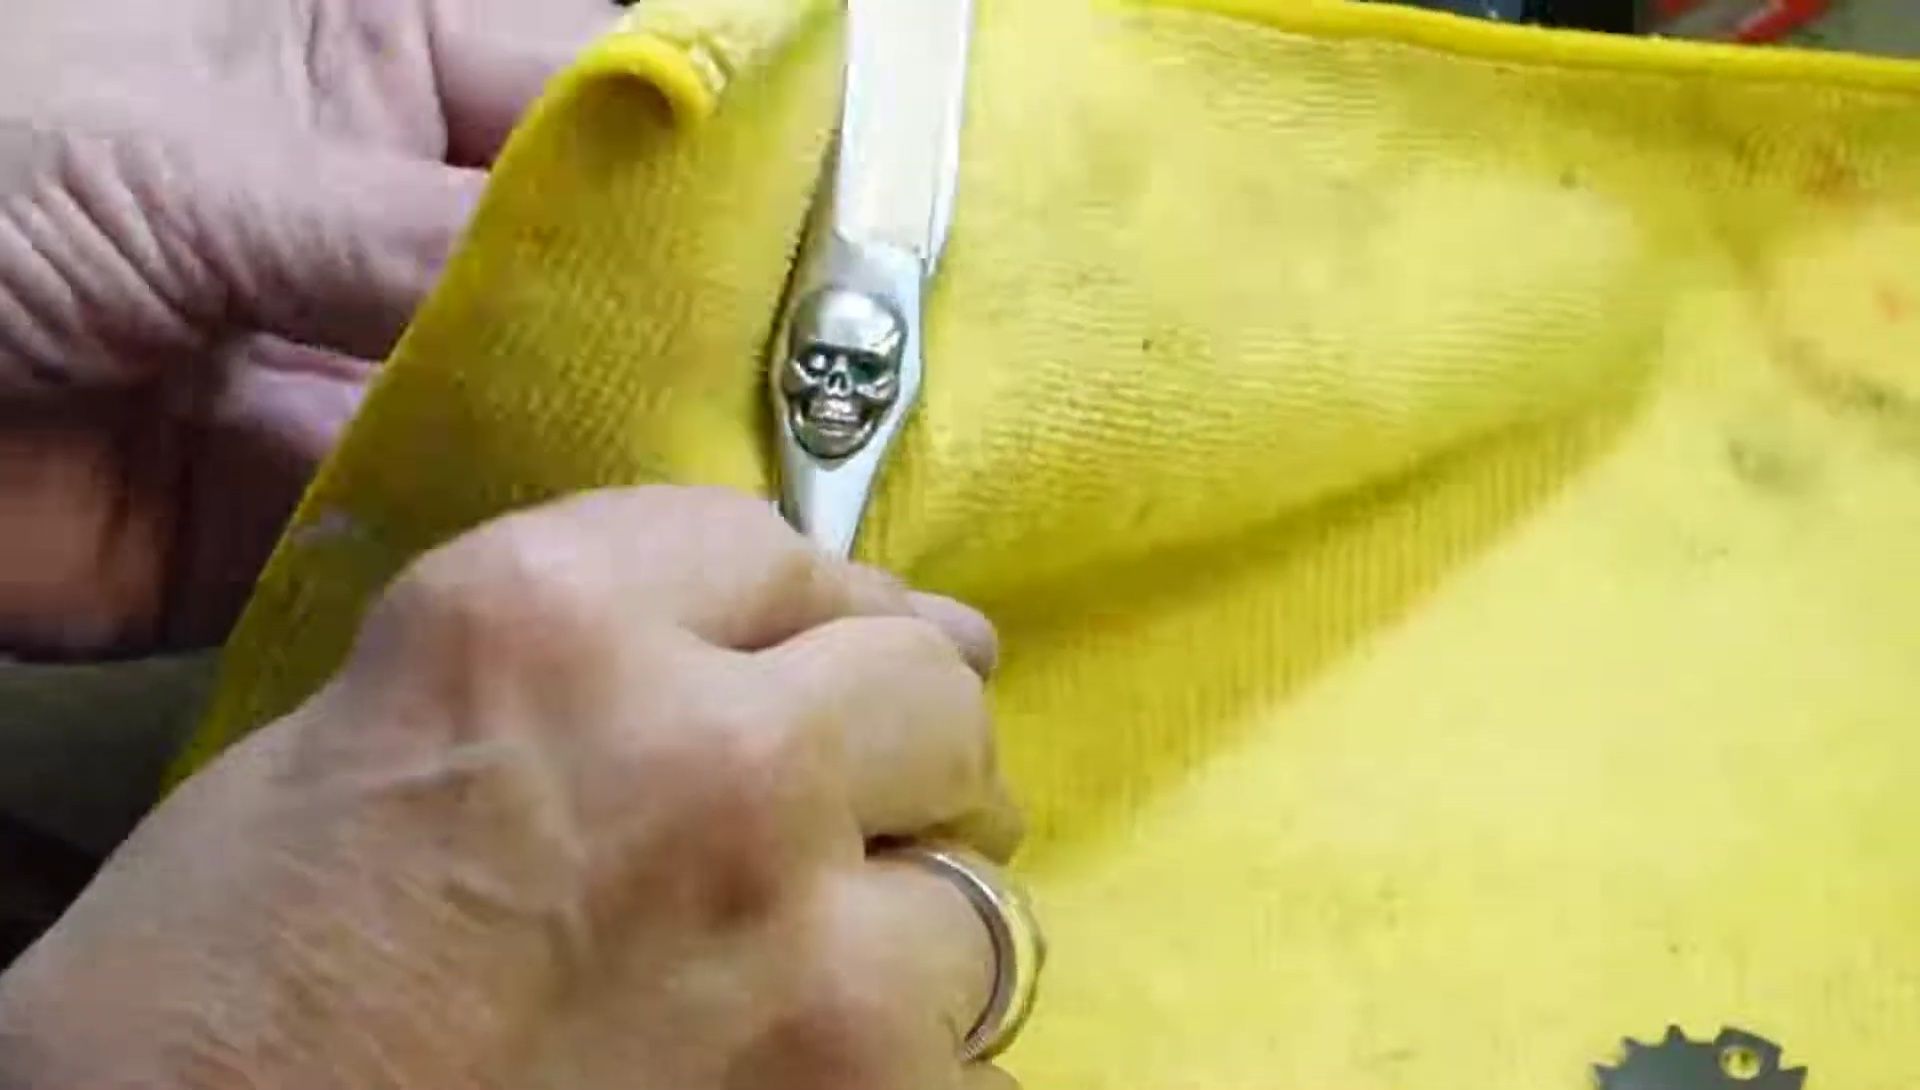
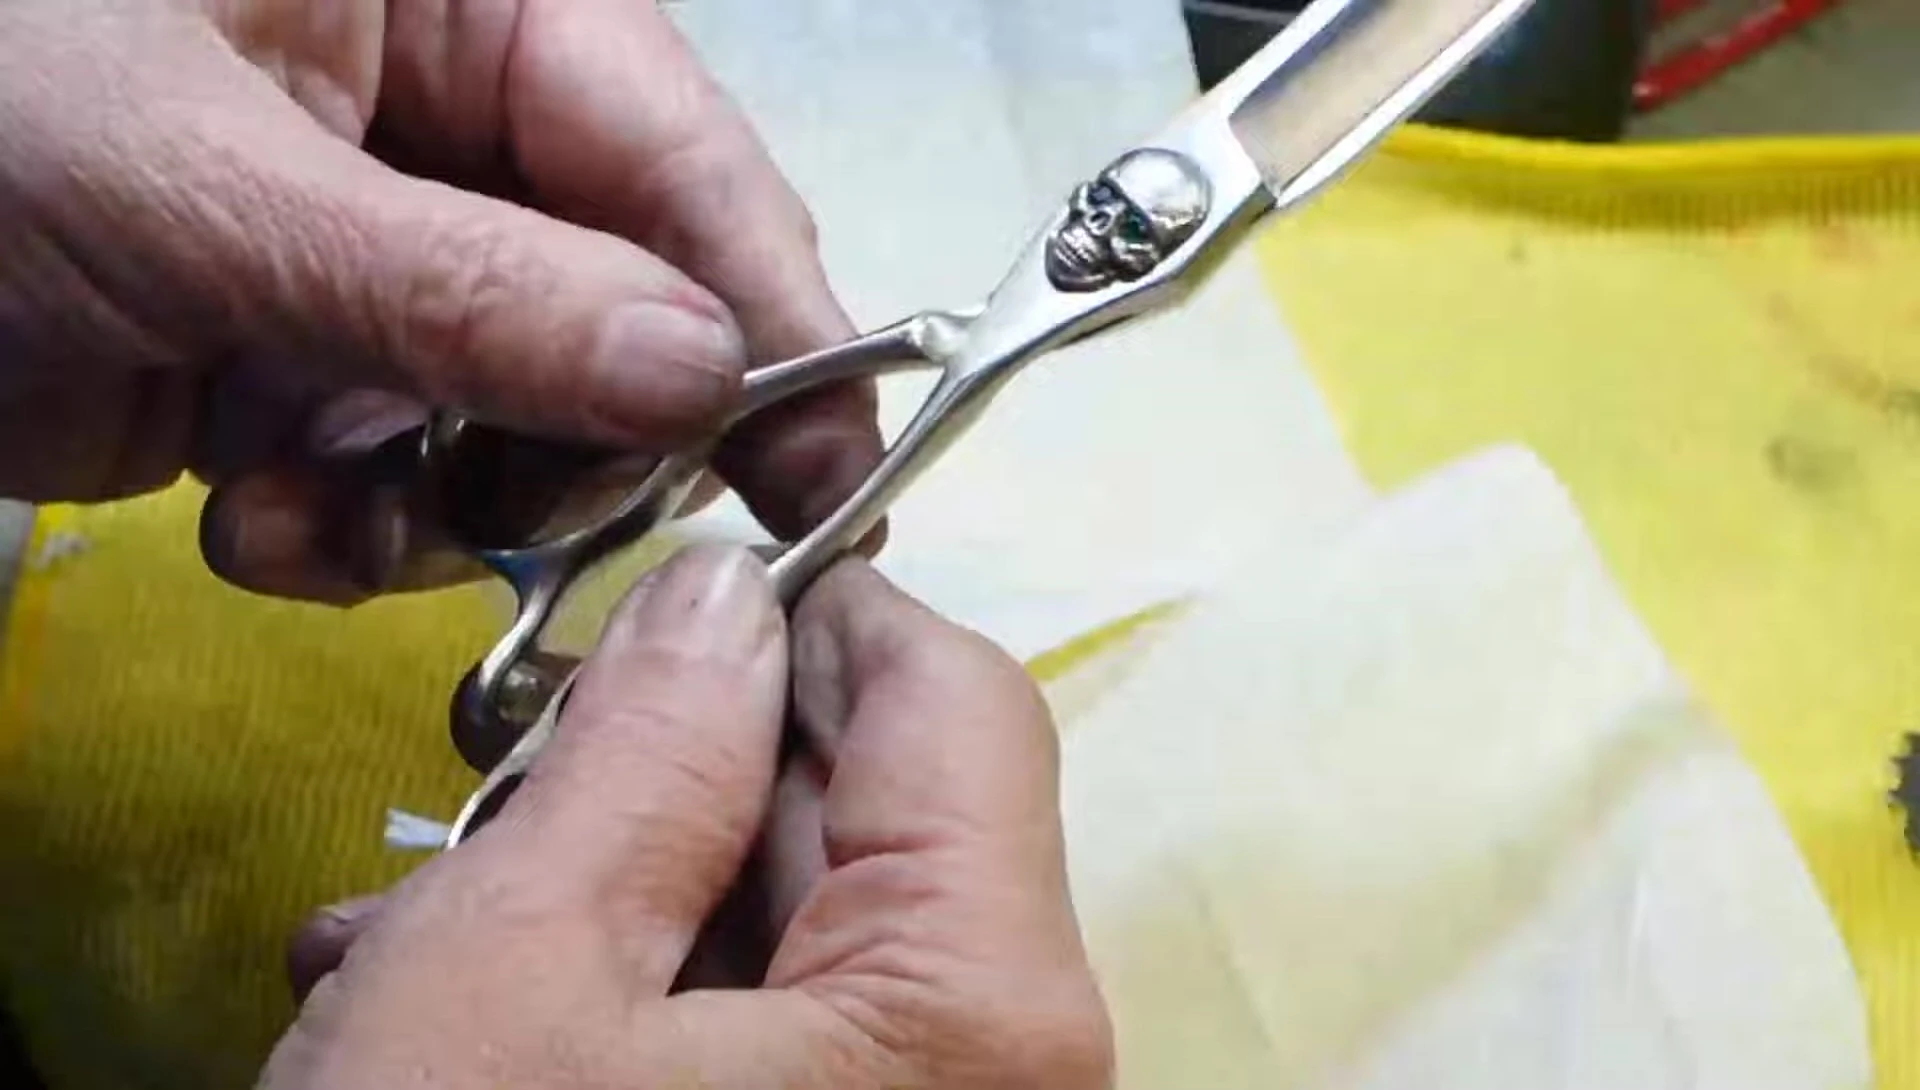
I encountered a unique problem while sharpening a pair of shears. The screw securing the decorative skull element was unlike any I'd seen before. It was a 'UFO' screw, featuring a thick washer and a design that prevented it from fitting in my standard clamp.
This unusual screw presented a significant obstacle to the sharpening process. The decorative skull prevented the shears from being securely clamped, making it impossible to sharpen effectively. The task was to carefully remove this skull without damaging it or the shears.
Disassembling the Skull
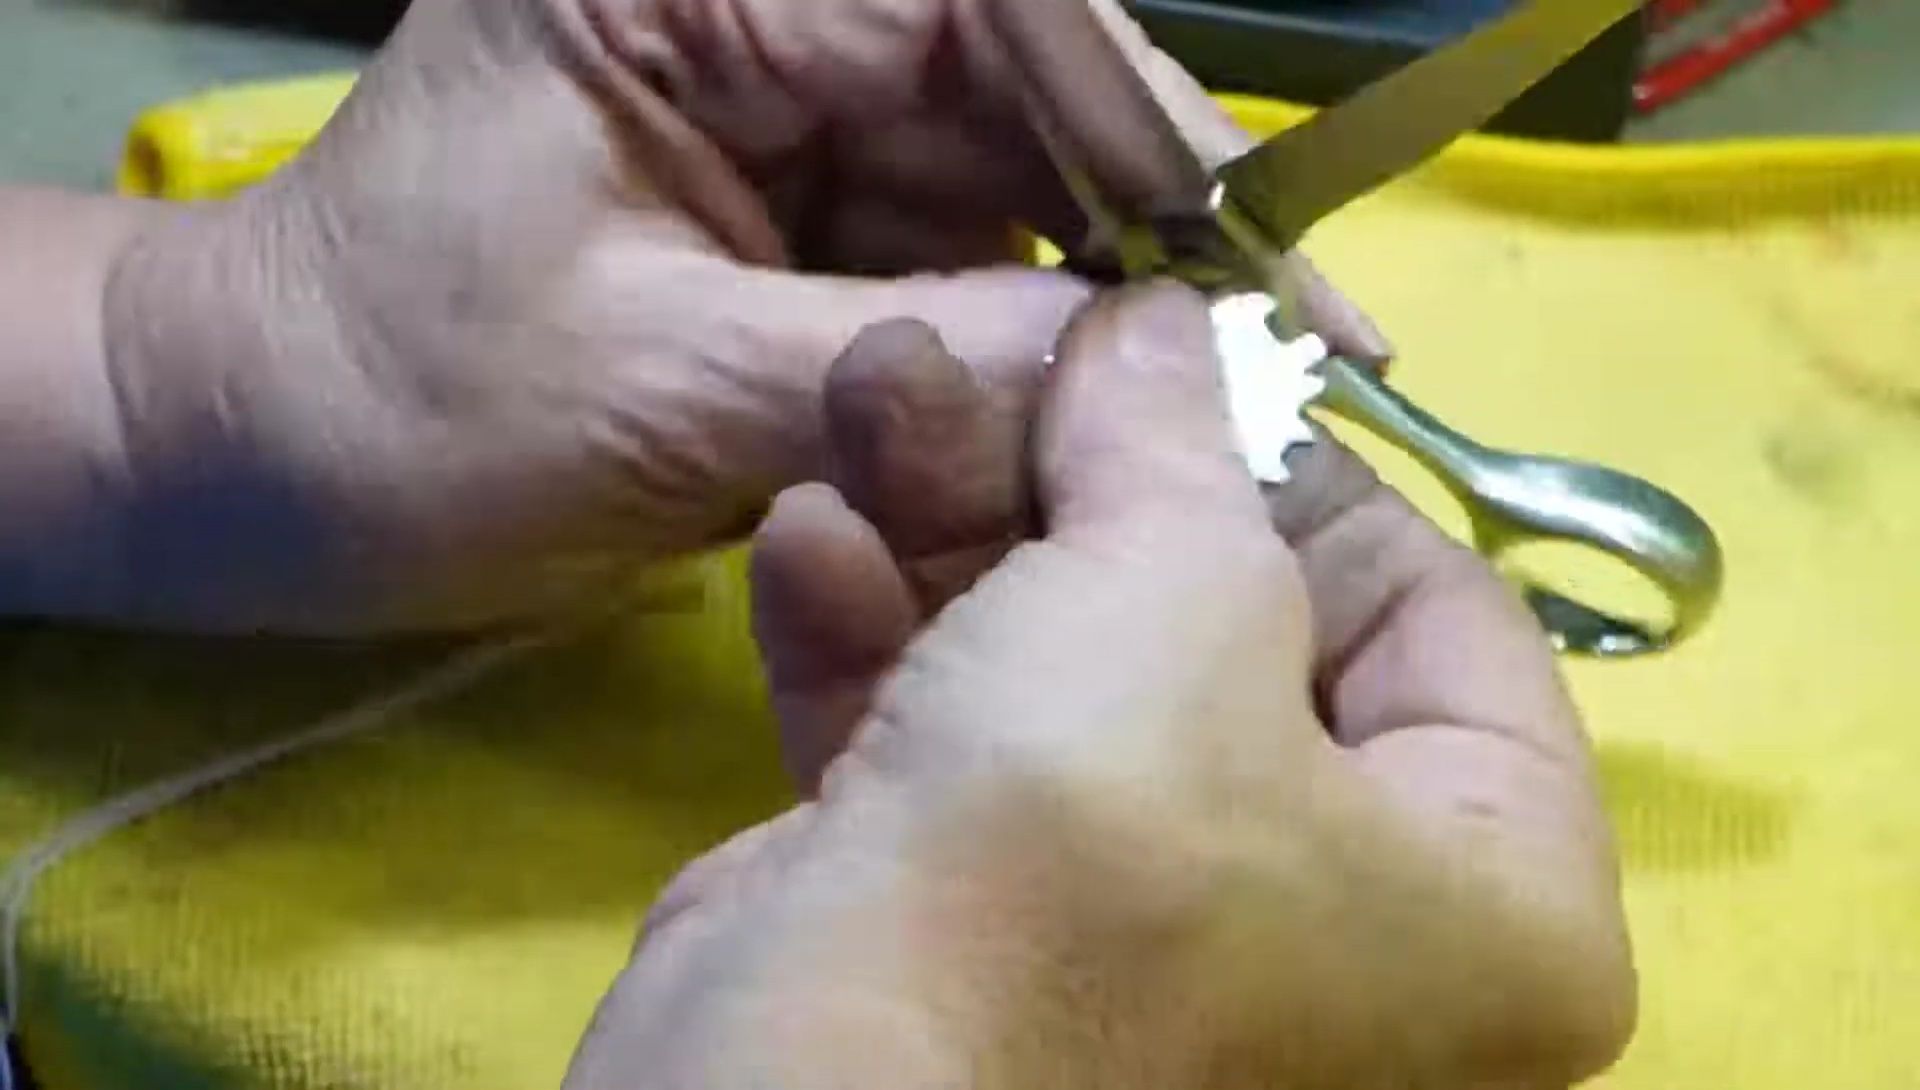
A tiny star bit was revealed, hidden within the skull. Using a T6 size star bit, I carefully unscrewed the tiny screws holding the skull in place. This process required precision and patience to avoid damaging the delicate parts.
Removing the skull exposed the underlying screw mechanism. The area was slightly rusted, so I cleaned it thoroughly with alcohol and a small brush before proceeding with the sharpening process. I made sure not to lose any of the small parts during disassembly.
Sharpening the Shears
With the skull removed, I could now proceed with sharpening the shears. This particular pair had a brush finish and a semi-convex edge, requiring a specific sharpening technique.
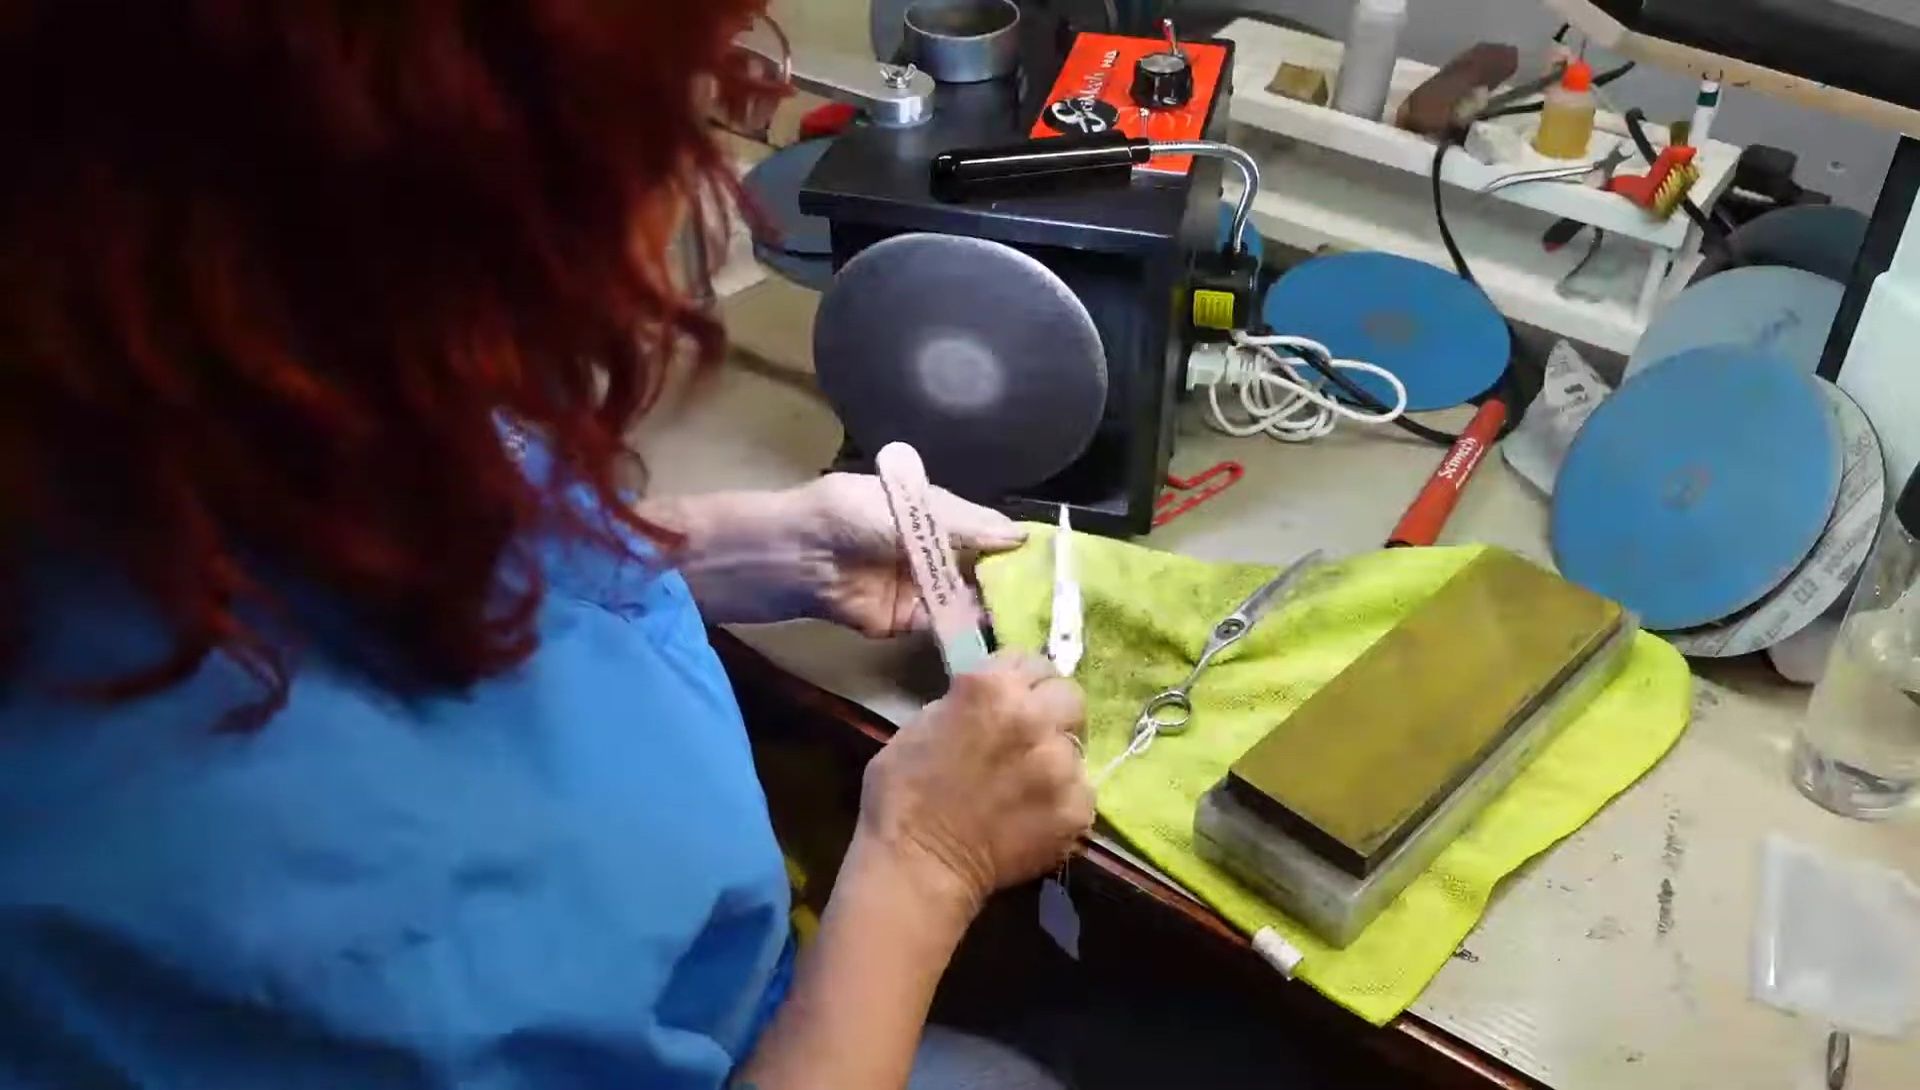
I used a semi-convex sharpening method, carefully polishing the blades all the way to the edge. I then removed the burr, ensuring a smooth, even finish. A nail buffer was used for final polishing to achieve a refined sharpness.
Reassembly and Testing
After sharpening, I carefully reassembled the shears, replacing the skull and ensuring all screws were tightened properly. The unusual screw presented no issues once the skull was removed.
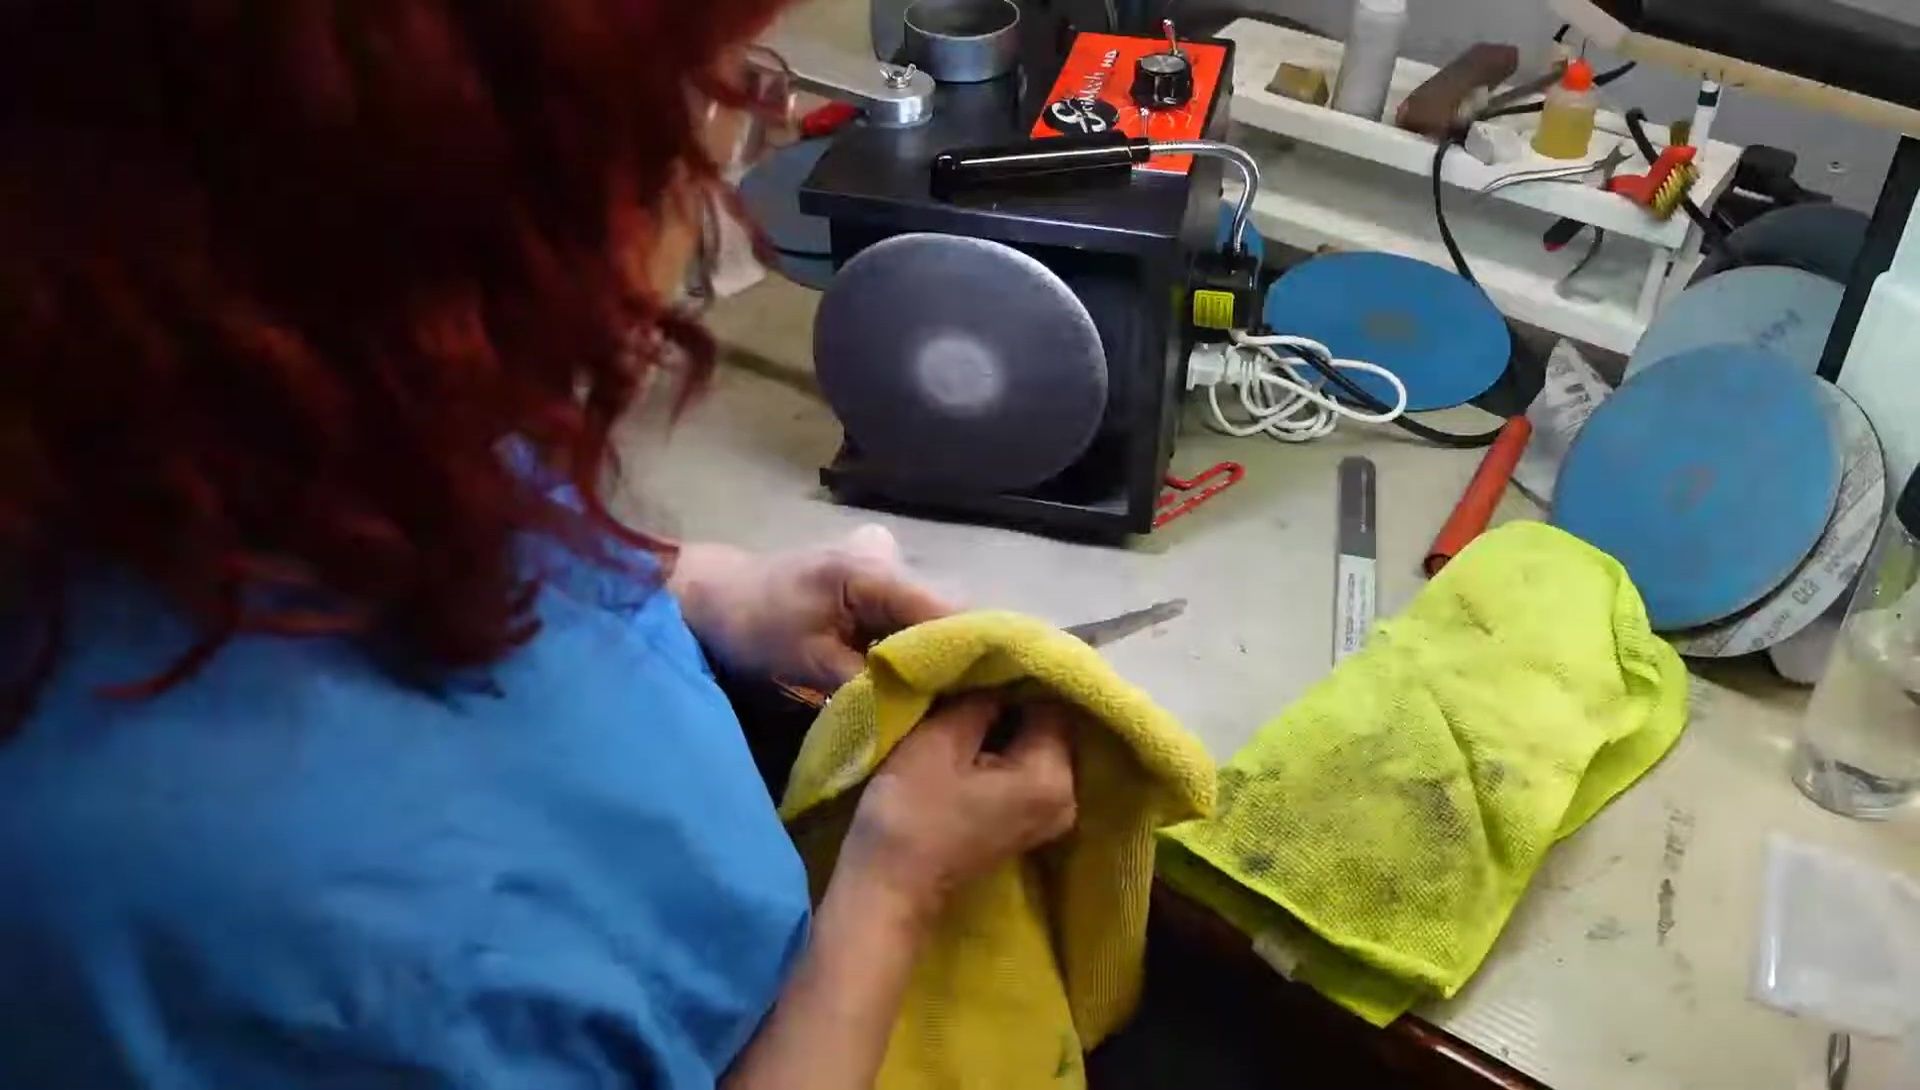
The shears were tested on wet hair, demonstrating the effectiveness of the sharpening process. However, the original screw's split design caused some concern; while functional, it did not seem as robust or secure as a traditional screw mechanism.
Conclusion
This experience highlighted the importance of understanding various screw types and the tools required to disassemble and reassemble them safely and effectively. While the unusual design presented challenges, it was successfully addressed.
The shears, although seemingly high-end, had a potentially problematic screw design that could lead to loosening. Ultimately, the sharpening process was successful, resulting in extremely sharp shears, but the underlying design weakness remains a point of concern.