Chemical relaxers offer transformative styling options, but their application demands precision and expertise. Mastering the art of virgin chemical relaxing, particularly with its unique challenges, is crucial for salon professionals seeking to deliver consistently excellent results and maintain client satisfaction. Improper application can lead to hair damage, breakage, and unhappy clients, underscoring the need for a thorough understanding of the process. This isn't just about applying a product; it's about understanding hair structure, assessing client needs, and executing a meticulous, damage-minimizing technique.
This guide provides salon professionals with a comprehensive, step-by-step approach to successfully relaxing virgin hair. We'll walk you through product selection, strand testing, sectioning techniques, application methods, neutralizing procedures, and crucial aftercare advice, equipping you with the knowledge and confidence to achieve flawless results every time. Let’s delve into the detailed process.
Preparation and Safety Guidelines
- Chemical Relaxer
- Bowl
- Comb
- Applicator Brush
- Towels
- Clarifying Shampoo
- Moisturizing Shampoo
- Intensive Conditioner/Treatment (e.g., Aoropoulou Well Ginger Keratin Intensive Treatment)
- Leave-in Conditioner (e.g., Tea Tree Lavender Mint Leave-in Conditioning Spray)
- Heat Protectant Spray (e.g., Clean Beauty Heat Styling Spray)
- Paddle Brush
- Blow Dryer
- Flat Iron
- Gloves
- Always perform a strand test before applying the relaxer to the entire head. This helps determine processing time and assesses the client's hair's reaction to the chemical.
- Use proper ventilation and wear protective gloves, eyewear, and a mask to minimize exposure to the harsh chemicals. Improper protection can cause serious skin and respiratory irritation.
- Follow the manufacturer's instructions precisely. Improper mixing ratios or processing times can lead to severe hair damage, breakage, or scalp burns.
Step-by-Step Instructions
Preparation and Sectioning
- Create an outline about 1-2 inches away from the base in each segment.
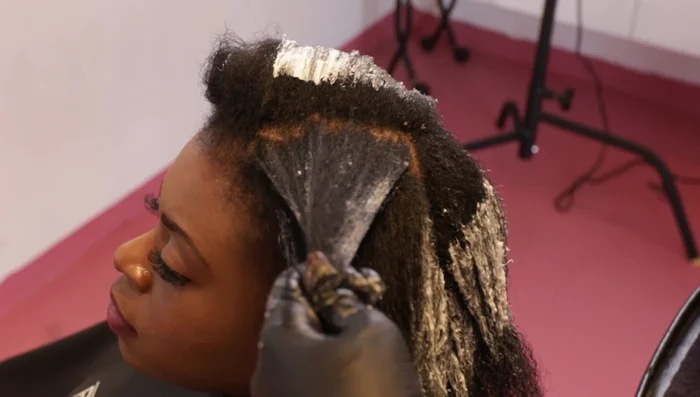
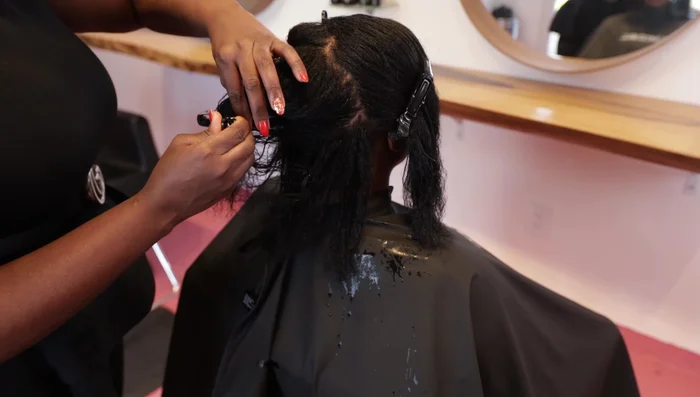
Relaxer Application
- Apply relaxer from 1-1.5 inches away from the base to the porous ends, avoiding direct scalp contact.
- Adjust section size (1/4 inch to larger) based on hair density (coarse, medium).

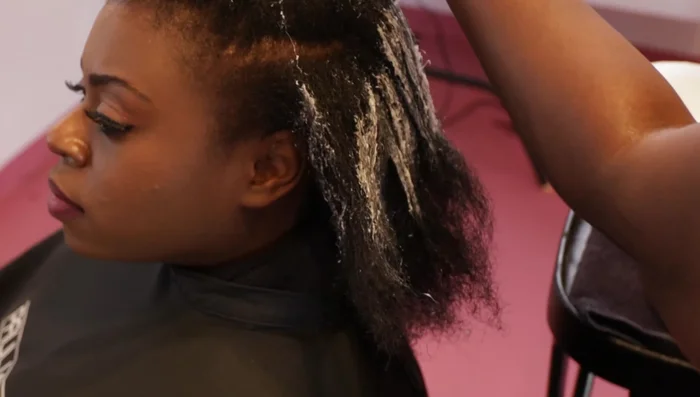
Relaxer Application Processing and Checking
- Gently manipulate the base with the back of the comb to encourage stretching, but avoid over-processing.
- Check for proper processing by pressing the comb on the base; a slight indent indicates readiness to rinse.
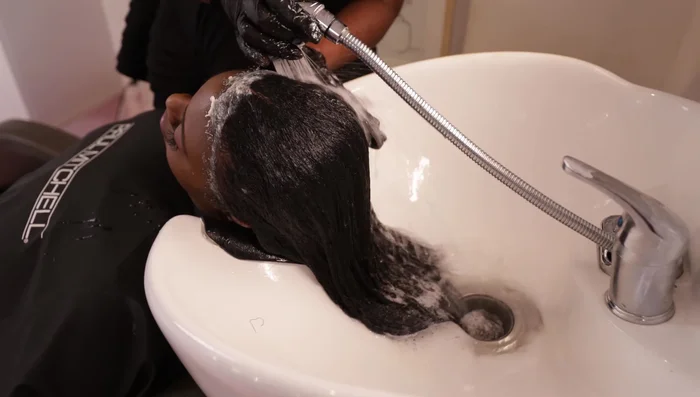
Processing and Checking Rinsing and Cleansing
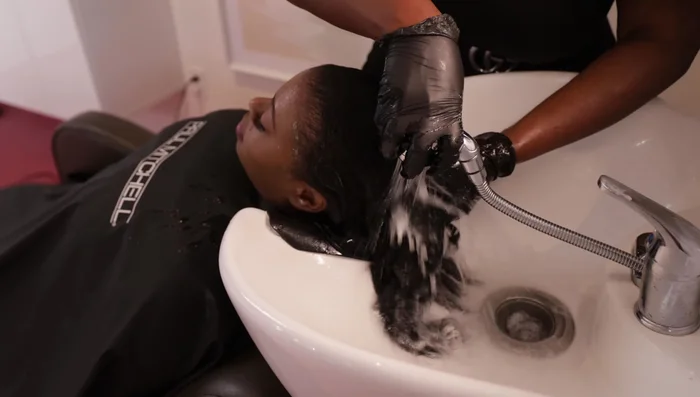
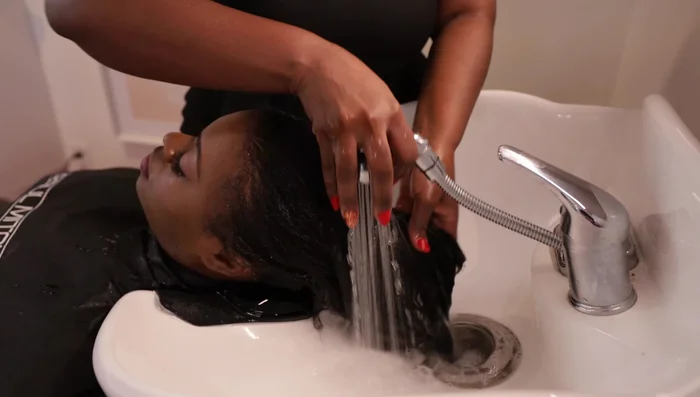
- Thoroughly rinse the chemical relaxer using lukewarm water, pressing the nozzle to remove product effectively.
- Use a clarifying shampoo to remove excess product and cleanse the scalp.
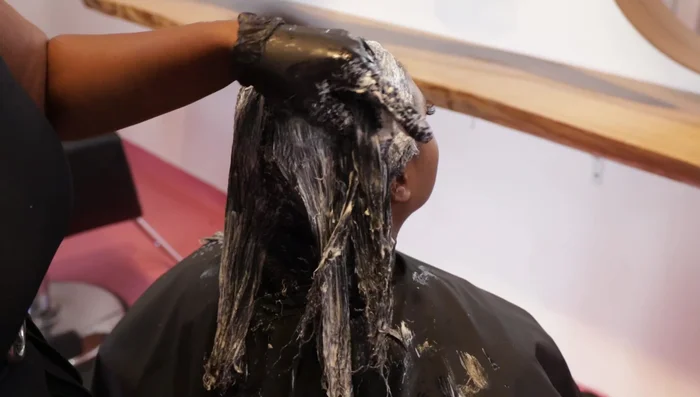
Rinsing and Cleansing Deep Conditioning Treatment
- Apply a protein treatment (e.g., Aoropoulou Well Ginger Keratin Intensive Treatment) for approximately 5 minutes.
- Follow with a moisturizing shampoo and conditioner or intensive hair mask.
- Dry hair under a dryer for approximately 10-15 minutes for deep moisture penetration.
Deep Conditioning Treatment Styling Preparation
- Apply leave-in conditioner and heat protectant spray.
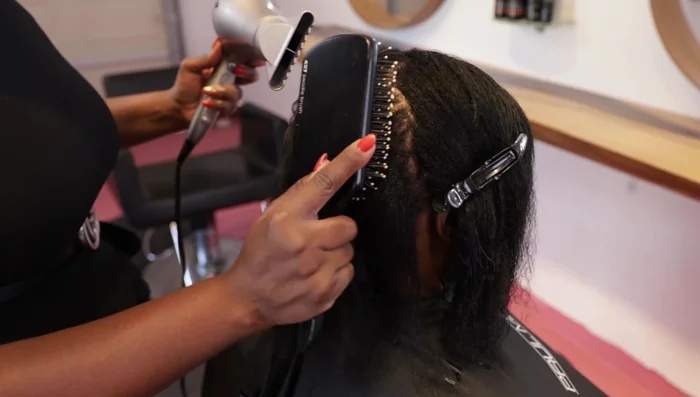
Styling Preparation Blow Drying
- Blow dry using a paddle brush to minimize tension.
Blow Drying Smoothing and Finishing
- Use a flat iron at an appropriate temperature (adjust based on hair texture).
Smoothing and Finishing

Read more: DIY Hair Relaxer Cream: A Homemade, Budget-Friendly Recipe
Tips
- Systematic Approach: A systematic approach is crucial for even processing; know your starting and ending points.
- Avoid Scalp Contact: Avoid applying the relaxer directly to the scalp to prevent discomfort.
- Process to Porous Ends, Not Through: Process the relaxer to the ends, not through, to prevent over-processing and breakage.
- Practice Makes Perfect: Practice on a doll head to perfect timing and technique.
- Preparation is Key: Have all necessary supplies ready before starting the service.