Maintaining sharp shears is paramount for any hair stylist; dull blades lead to uneven cuts, split ends, and ultimately, unhappy clients. A stylist's shears are their most valuable tool, representing a significant investment both financially and in terms of their professional reputation. The condition of your shears directly impacts the quality of your work, influencing everything from precision cutting to the overall health and appearance of your clients' hair. Properly sharpened shears not only enhance the cutting experience but also significantly extend their lifespan, saving you money in the long run.
This lack of sharpness can be easily avoided with regular maintenance and knowing how to properly sharpen your shears. This guide will provide a comprehensive, step-by-step process for sharpening salon shears, empowering you to keep your tools in peak condition and deliver consistently flawless haircuts. Let's dive into the detailed instructions that will transform your dull shears into precision cutting instruments once more.
Preparation and Safety Guidelines
- Shears
- 2000 grit stone
- Nigura stone
- Polishing pad
- Sandpaper (1500 grit)
- Marker
- Alcohol
- Oil
- Dry paper/Toilet tissue
- Always wear safety glasses or a face shield to protect your eyes from flying debris.
- Use a honing guide or other sharpening aids to maintain consistent sharpening angles and prevent damage to the shears.
- Never attempt to sharpen shears if you are not comfortable or familiar with the process. Consider professional sharpening if unsure.
Step-by-Step Instructions
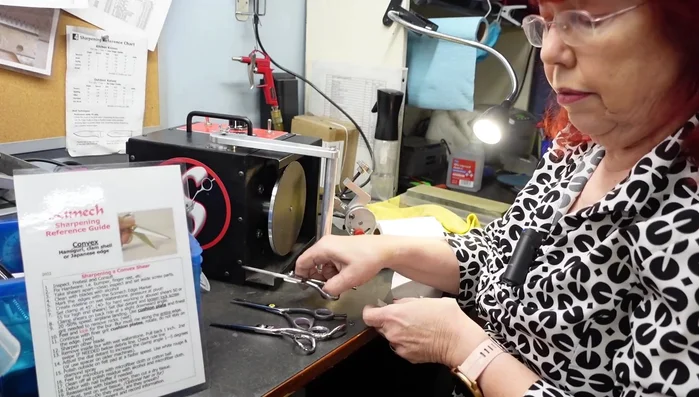
Inspection and Consultation
- Inspect, pre-test, and consult with the client about the condition of the shears.

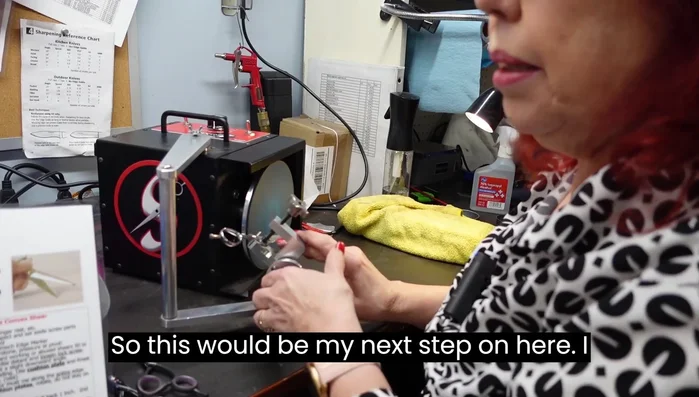
Inspection and Consultation Preparation
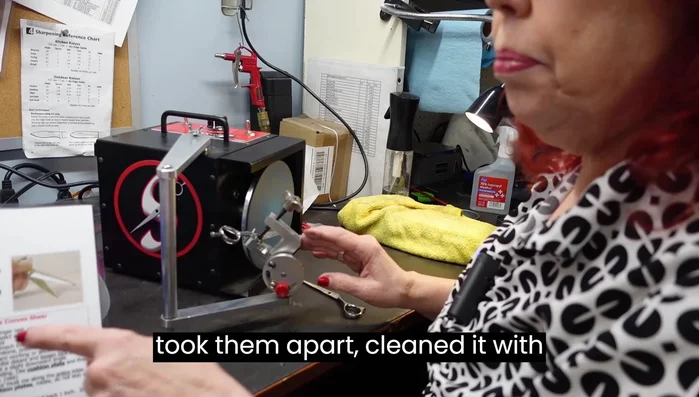
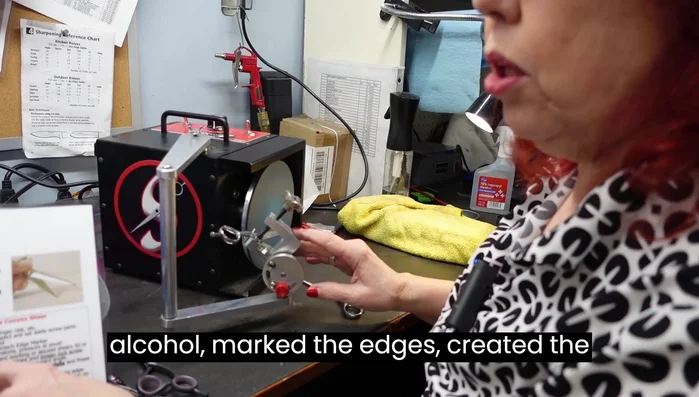
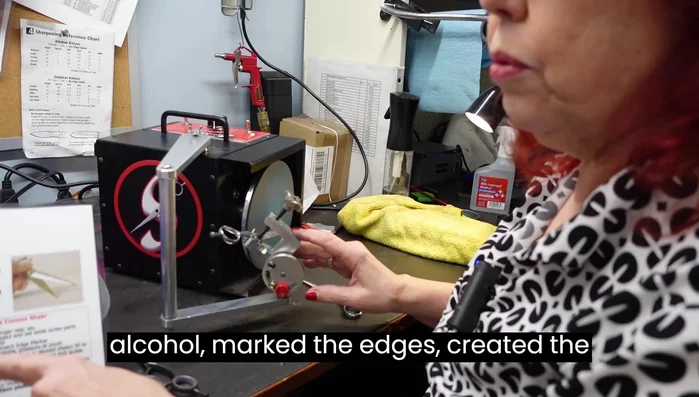
- Disassemble the shears.
- Clean the shears with alcohol.
- Mark the edges of the blades.
- Create the ride line (shiny line).
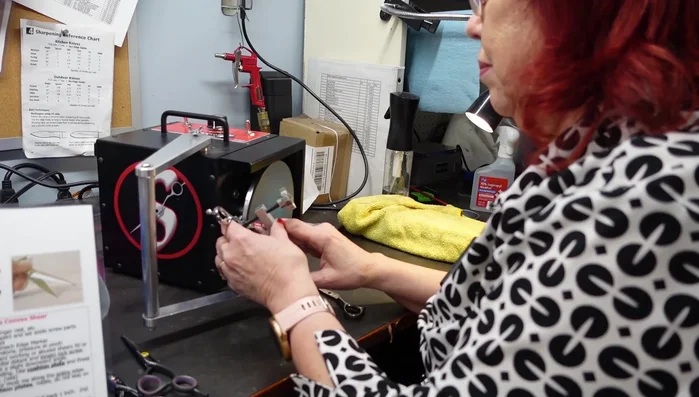
Preparation - Set the clamp.
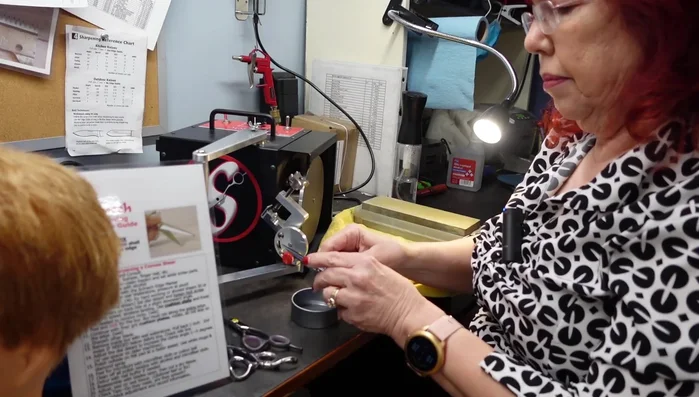
Preparation Sharpening
- Start outside sharpening using 1500 grit sandpaper. Remove the burr.
- Use a finer grit stone (Nigura) to refine the sharpening.
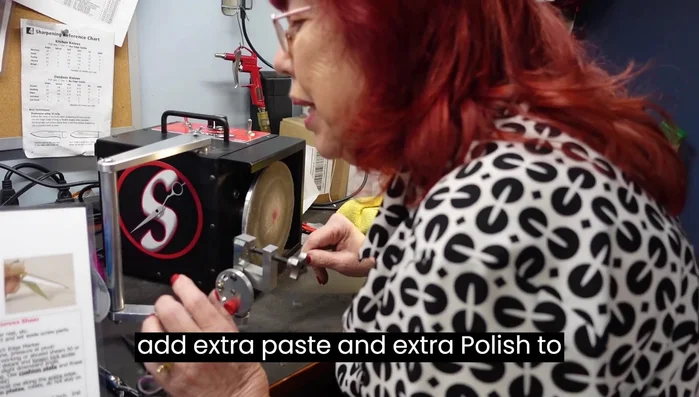
Sharpening Polishing
- Polish the blades using a polishing pad.
Polishing Reassembly and Testing
- Reassemble the shears.
- Test the sharpness by cutting paper and hair. Address any remaining burrs or unevenness.
Reassembly and Testing


Read more: How to Thin Hair with Thinning Shears: A Step-by-Step Guide
Tips
- Coloring in the ride line speeds up the sharpening process.
- Never attempt to sharpen without taking the shears apart to achieve a flat ride line.
- A blunter edge might last longer, especially for shears not used for slide cutting.
- Avoid getting alcohol on your sharpening stone.