Tired of bulky, heavy hair weighing you down? Thinning shears, also known as texturizing shears, offer a fantastic solution for achieving a more manageable and voluminous look without sacrificing length. Unlike regular shears that create blunt cuts, thinning shears feature teeth that remove only a portion of the hair, resulting in a natural-looking reduction in density. This subtle yet effective technique can transform thick, unruly hair into a lighter, more flowing style, adding movement and body where needed. It's a skill easily mastered with the right guidance.
This comprehensive guide will equip you with the knowledge and techniques necessary to safely and effectively thin your hair using thinning shears at home. From selecting the right tools to understanding proper sectioning and cutting angles, we'll walk you through each step of the process. Ready to learn how to achieve salon-quality results in the comfort of your own home? Let's get started with our step-by-step guide.
Preparation and Safety Guidelines
- Thinning shears
- Never use thinning shears on already thin or damaged hair, as this can worsen breakage and lead to further hair loss. Focus on thicker sections only.
- Use thinning shears sparingly and with a light touch. Too much thinning can result in choppy, uneven hair that looks worse than before. Less is more.
- If you are unsure about using thinning shears, consult a professional hairstylist. Improper use can cause irreversible damage.
Step-by-Step Instructions
Sectioning the Hair
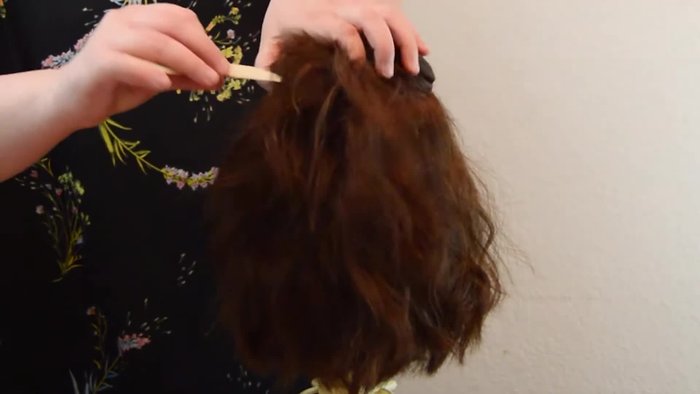
- Section the hair. Sectioning is crucial to ensure even thinning and avoid over-thinning.
- Start with the top section, clipping it out of the way. Create additional sections above the ears and below the top section.

Sectioning the Hair Thinning the Bottom Section
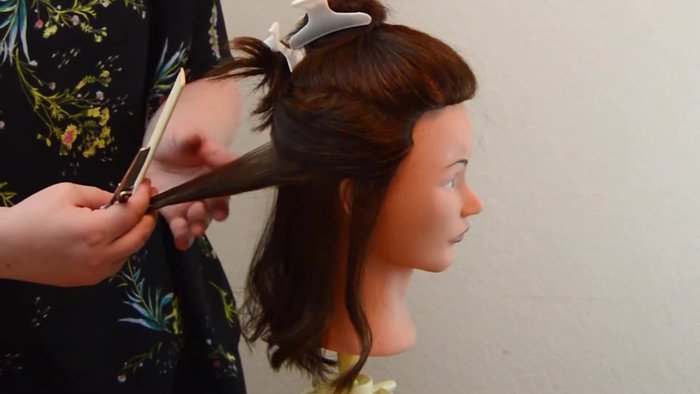
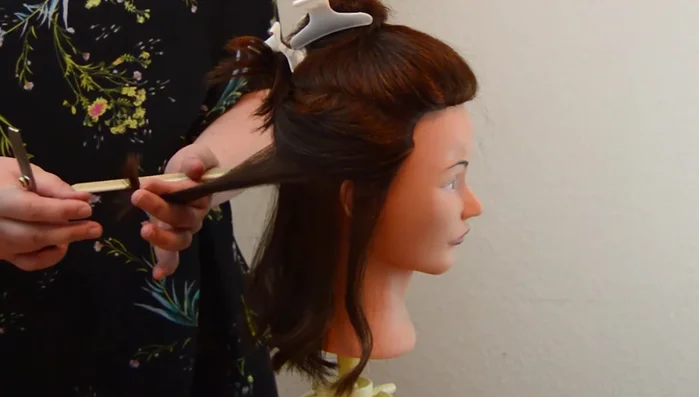
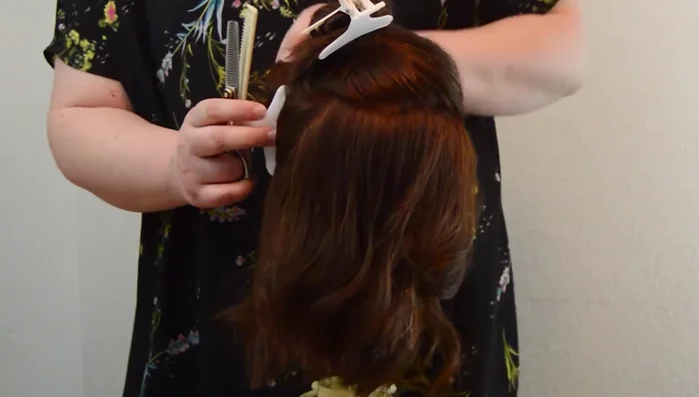
- Begin with the bottom section. Cut this section in half, leaving the bottom hairline undisturbed.
- Take the first section to thin, cutting at an angle in the mid-section of the hair. Maintain at least 3 inches of distance from the scalp.
- Continue thinning more sections using the same process. Consider that hair around the face is naturally thinner.
Thinning the Bottom Section Thinning the Top Section
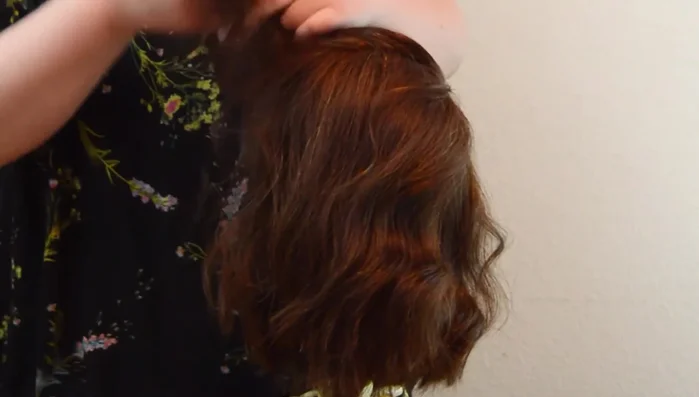
- Thin the top section. If you want more volume at the crown, you can go closer to the scalp, but always stay at least 2-3 inches away to prevent short hairs from poking through.
Thinning the Top Section Review and Refine
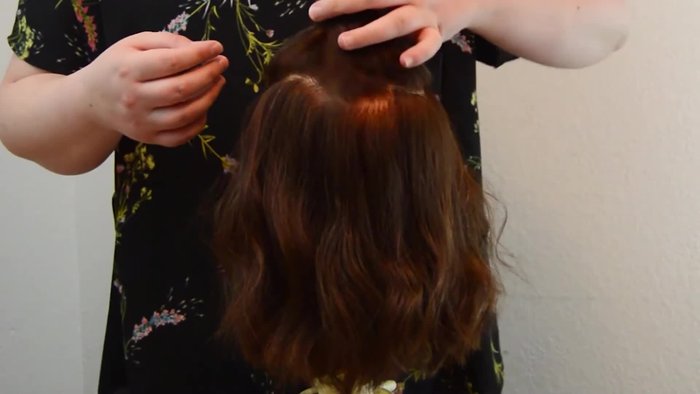
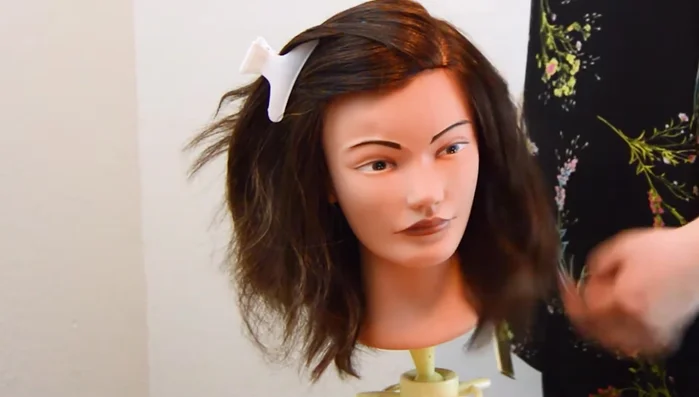
- Review and refine. Once you've thinned all the hair, review for any sections needing additional thinning.
Review and Refine
Read more: Salon Shear Sharpening: A Step-by-Step Guide for Hair Stylists
Tips
- Always go slow and have a plan to avoid over-thinning.
- Keep track of what you've already thinned.
- Consider the natural thinness of the hair around your face; you may not need to thin it as much.