This detailed review dives into the transformative experience of using Optimum Care Relaxer for the first time. The author chronicles their journey, from initial application and the challenges encountered with sensitive areas like the hairline, to the final reveal of smooth, straight hair. This honest account offers valuable insights and practical tips for both beginners and experienced users considering this relaxer. Expect a step-by-step guide covering pre-treatment protection, the relaxing process itself, neutralization, dyeing, deep conditioning, and finally, styling.The review doesn't shy away from highlighting potential difficulties, such as the slightly harsh initial feel of the relaxer and the need for extra care around the hairline. However, the focus remains on the positive outcome—achieving beautifully soft, straight hair with a professional-looking finish. Key tips and tricks gleaned from the author's experience are shared, ensuring readers are well-equipped to maximize their results and minimize any potential discomfort. This comprehensive review offers a realistic perspective on using Optimum Care Relaxer, helping you decide if it's the right choice for your hair transformation.
Pros And Cons
- Worked well, except for the front
- Rough on the hands initially
- Didn't work well on the front due to hair sensitivity, requiring reapplication
Read more: Top 10 Nairobi Hair Relaxers
Application and Initial Reactions
Starting the process, I applied a pre-cream to protect my hair from the relaxer's potential burning effects. My initial experience was a bit rough, with the relaxer feeling harsh on my hands at first. It’s important to follow directions carefully and use a protective cream.
The relaxer was applied section by section, paying special attention to the hairline which can be quite sensitive. I found that the relaxer didn't work as well on my front hairline due to its sensitivity, requiring some extra care and attention in that area.

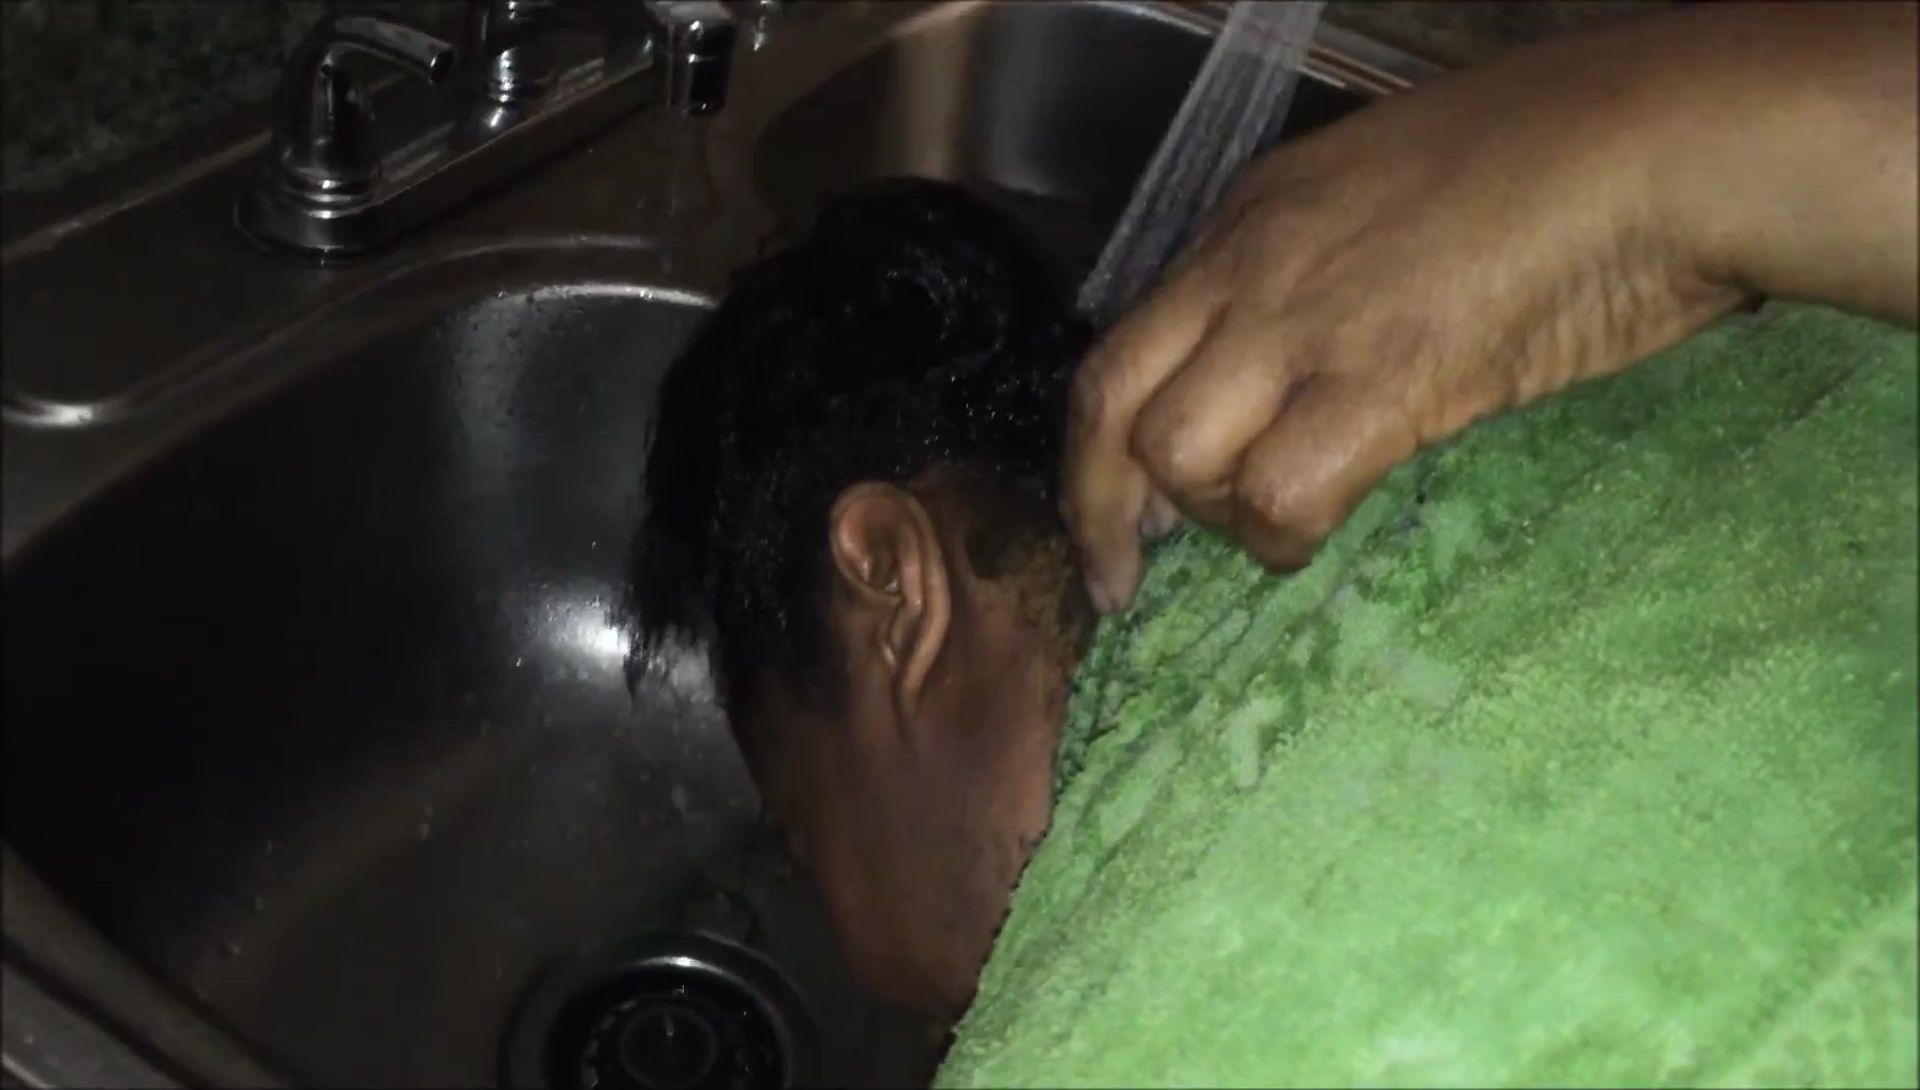
Neutralization and Washing
After the relaxing process, a neutralizing shampoo and conditioner were used to stop the chemical process. I used extra conditioning to help repair any potential damage from the relaxer.

A key tip: The neutralizing shampoo turns pink when the relaxer is fully neutralized. If it turns white, as it did on my head, the relaxer is fully removed and it's safe to proceed to the next step.

Dye Application and Tips
Following the washing, I applied a semi-permanent adore black dye. A helpful tip: You can use a comb instead of a brush to apply the dye, especially if you don’t want to use gloves.

Applying grease to your hands before applying the dye prevents it from staining your skin. The dye was left on for 10-15 minutes under a cap before rinsing.

Deep Conditioning and Blow-drying
After rinsing out the dye, I applied a deep conditioner, specifically Metagross, to nourish and moisturize my hair. This is a crucial step after a chemical process like relaxing.
Finally, the hair was blow-dried. The end result was beautifully soft, straight hair with no flat spots.
Overall Conclusion and Rating
Overall, I found the Optimum Care relaxer to be effective in straightening my hair, although the process did require some extra attention on the sensitive areas around my hairline. The result was smooth, straight hair.
I enjoyed the final outcome, particularly as it was my first time using this type of relaxer. While the initial application felt a bit rough, the final result was worth it. I would recommend this product, especially for first-timers, but remind users to pay attention to sensitive areas and use protective measures.